
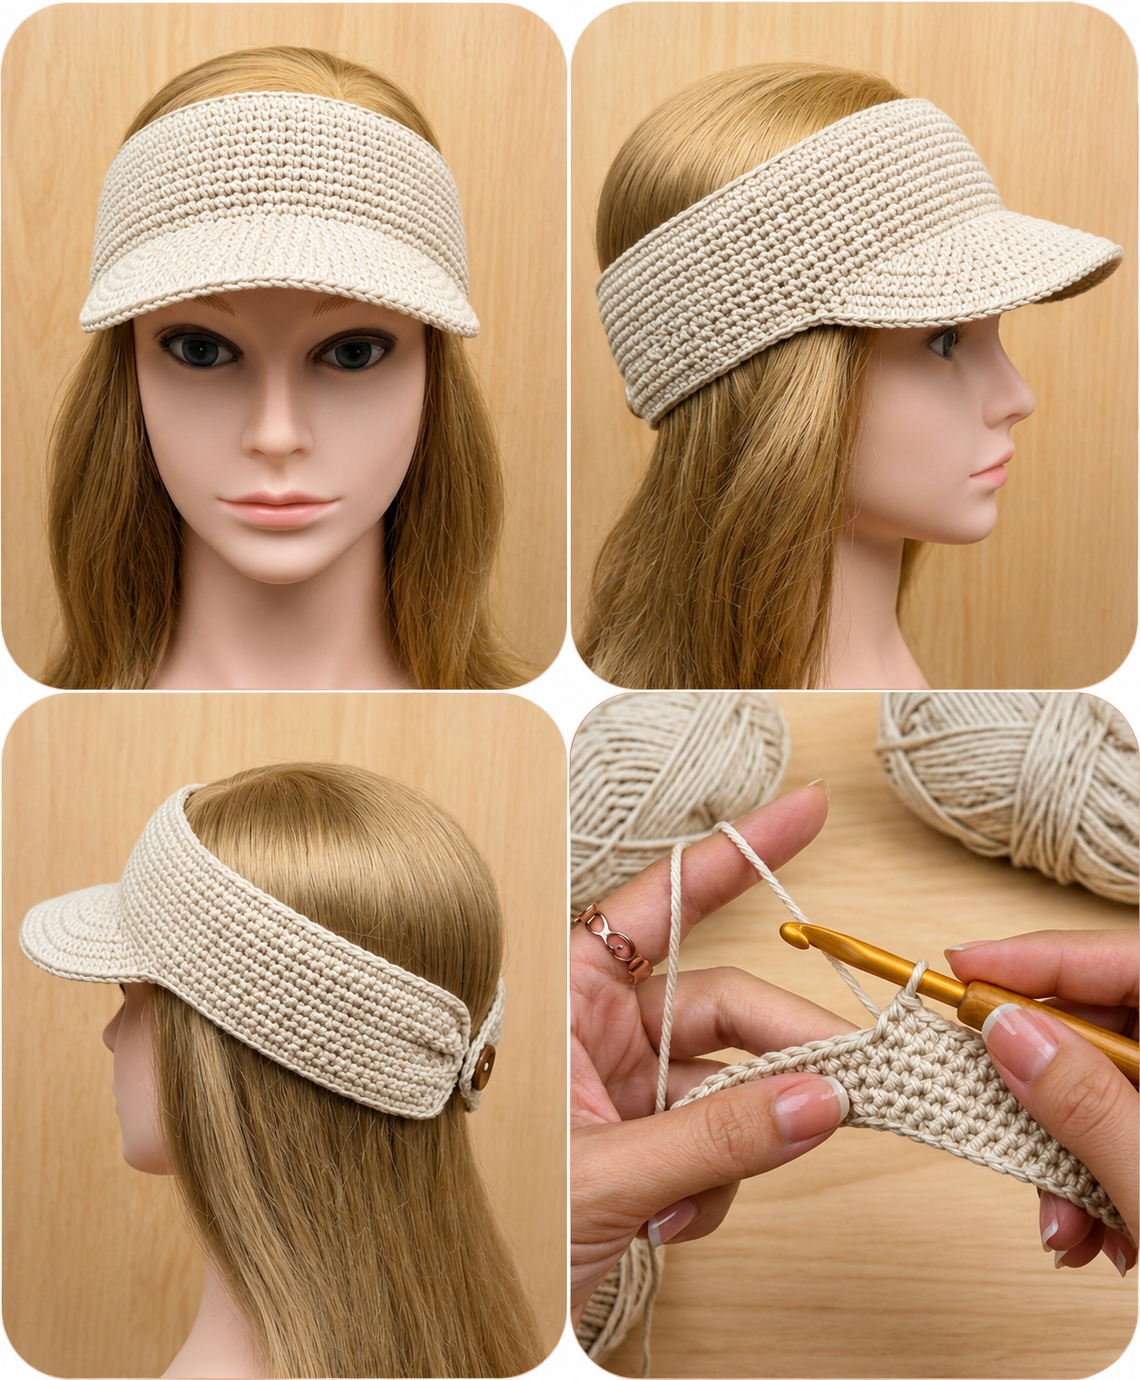
Overview & Design Inspiration
Hello, fellow yarn lovers! If you are searching for a project that seamlessly blends everyday practicality with handmade charm, you are going to fall completely in love with the crochet headband-visor. It truly is the ultimate warm-weather accessory for anyone who craves sun protection without the trapped heat of a traditional baseball cap.
We adore this design because it keeps your hair neatly styled in a ponytail or bun while shading your face during morning walks, gardening sessions, or beach days. It is a wonderfully quick, highly rewarding project that lets you show off your crochet superpower wherever you go!
Materials & Recommended Supplies
Gathering your supplies is half the fun! To ensure your visor holds its shape while remaining wonderfully breathable, here is what you will need:
- Yarn: 100% cotton yarn in a medium (Worsted / Aran) weight. Cotton is durable, absorbs moisture, and offers fantastic stitch definition.
- Crochet Hook: Size 4.5 mm (US 7) or 5.0 mm (US H/8) to achieve a firm, supportive tension.
- Notions: Tapestry needle for weaving in ends, locking stitch markers, and measuring tape.
- Optional Structure: A plastic visor insert, heavy interfacing, or specialized visor template if you prefer a rigid brim.
Essential Techniques & Stitch Highlights
The beauty of this project lies in its clever combination of basic stitches and smart structure. Working primarily with sturdy foundational stitches like single crochet and half-double crochet creates a dense, supportive fabric that naturally holds its form around the brim.
For the headband section, you can easily experiment with stretchy ribbed textures or classic chevron patterns. These methods not only enhance the aesthetic appeal of your visor but also ensure a wonderfully snug, comfortable fit for all-day wear.
Construction & Assembly Highlights
Constructing a crochet visor is an exciting journey of shaping and form! The process typically begins with the comfortable headband band, worked flat or in the round to fit your head measurements securely.
From there, you transition seamlessly into the visor brim, utilizing increases to create that classic curved shade. If you are using a plastic insert, it is neatly enclosed between crocheted layers, resulting in a polished, professional finish that stands the test of time.
Customization & Styling Ideas
Your handmade visor is a blank canvas waiting for your personal artistic touch! Try working bold color-blocking or cheerful stripes to capture those vibrant summer beach vibes.
To elevate your design even further, consider attaching a removable floral appliqué, chic wooden buttons, or delicate lace edging. It is also an incredible item for craft fairs, making it a breeze to whip up custom accessories for friends, family, and market customers alike.
Pro Tips for Flawless Results
- Check Your Gauge: Always whip up a quick test swatch to ensure your headband fits snugly without being overly tight.
- Maintain Firm Tension: Keeping your stitches consistently tight is the secret to a sturdy, professional-looking visor brim.
- Block Your Finished Piece: A light steam-blocking helps relax the cotton fibers and sharpens the crisp curve of your brim.
- Weave Securely: Because this piece sits against the forehead, weave in all yarn tails meticulously for maximum comfort.
Frequently Asked Questions
Is a crochet visor suitable for absolute beginners?
Yes, absolutely! Many patterns rely on basic stitches like single and double crochet, making them wonderfully approachable if you are eager to try your hand at shaping.
Do I always need a plastic visor insert?
Not necessarily. While plastic inserts provide rigid structure, many modern patterns achieve incredible stability simply by using dense stitch counts and sturdy cotton yarn.
Can I wash my finished crochet visor?
If you use 100% cotton yarn, your visor can typically be hand-washed gently in cool water and laid flat to dry, ensuring it stays fresh all season long.
Watch the Full Step-by-Step Video Tutorial
Prefer visual guidance? Follow along with the complete video tutorial below at your own pace: