
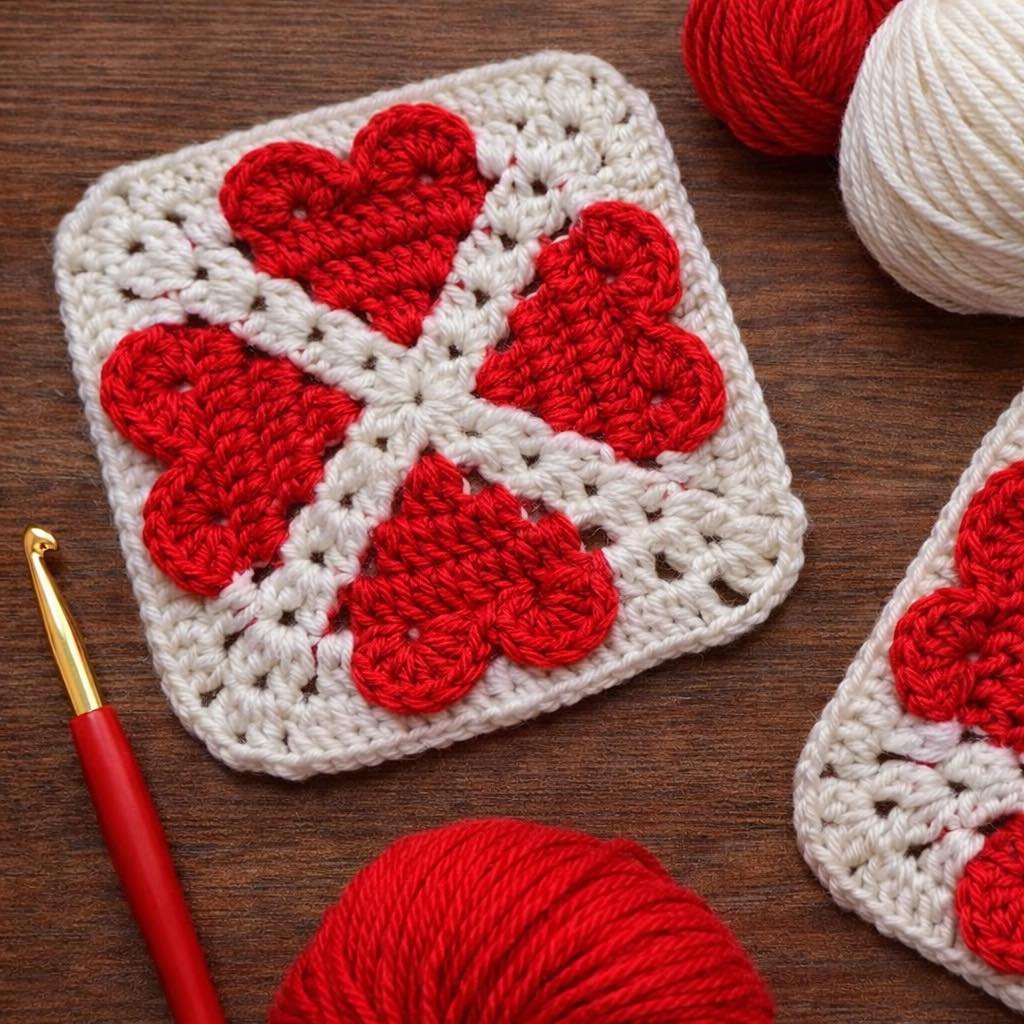
Overview & Inspiration
Welcome, my crafty friends! There is something truly magical about combining the timeless charm of traditional granny squares with the sweet, emotive symbolism of a handmade heart.
Whether you are making a cherished keepsake for someone special or adding a touch of handmade warmth to your own home decor, this delightful motif brings joy to every single stitch. Let’s dive in and create something gorgeous together!
Materials & Supplies Needed
- Medium-weight (Worsted / Aran) yarn in contrasting colors for the heart and the surrounding square
- Cotton or acrylic yarn fibers, depending on your preferred drape and finish
- Crochet hook in size 5.0 mm (US Size H/8)
- Tapestry needle for weaving in ends
- Stitch markers
- Sharp scissors
Stitches & Abbreviations
- ch = chain
- sl st = slip stitch
- sc = single crochet
- hdc = half double crochet
- dc = double crochet
- tr = treble crochet
- st(s) = stitch(es)
- sp(s) = space(s)
Step-by-Step Pattern Instructions
Round 1 (The Heart Center): Starting with your heart color, make a magic ring. Ch 3 (counts as first dc), work 3 dc into the ring, 3 hdc, ch 1, 1 tr (bottom point of the heart), ch 1, 3 hdc, 3 dc, ch 3, and sl st into the center ring to close. Fasten off heart color securely. [14 sts]
Round 2 (Squaring the Motif): Join your background square color in any corner chain space. Ch 3, work (2 dc, ch 2, 3 dc) in the same space to form the first corner. Work across the top curves and down the sides using alternating hdc and dc groups, placing (3 dc, ch 2, 3 dc) in each corner space to square off the heart shape evenly. Sl st to top of starting ch-3. [54 sts]
Round 3 (Expanding the Square): Ch 3, work 1 dc in each st across to the corner ch-2 space. Work (2 dc, ch 2, 2 dc) in each corner space to maintain clean, sharp geometric edges all the way around. Join with a sl st to the beginning ch-3. [70 sts]
Assembly & Finishing Touches
Once your squares are completed, lay them out on a flat surface to plan your color layout and final project design. Use a whip stitch or a continuous join-as-you-go method to seam your squares cleanly together.
Use your tapestry needle to securely weave in all loose yarn tails on the wrong side of the work. Finally, block your finished pieces with steam or water spray to crisp up the corners and give your hearts a polished finish.
Pro Tips for Flawless Results
- Maintain a consistent yarn tension throughout all rounds so your squares lay perfectly flat without warping or cupping.
- Choose high-contrast yarn colors between your heart and background to make the central motif pop vibrantly.
- Do not skip the blocking stage; it truly transforms the edges and aligns your stitches for professional-looking assembly.
Frequently Asked Questions
What skill level is required for this pattern?
This design is wonderfully approachable for ambitious beginners with basic crochet knowledge, while still offering plenty of creative satisfaction for advanced makers.
Can I use different yarn weights?
Yes, absolutely! Just keep in mind that changing your yarn weight and hook size will alter the final physical dimensions of your completed granny square.
How do I keep the square from curling at the corners?
Ensuring your corner chain spaces contain the exact stitch counts specified in the instructions will keep your squares completely flat and neat.
Watch the Full Step-by-Step Video Tutorial
Prefer visual guidance? Follow along with the complete video tutorial below at your own pace: