
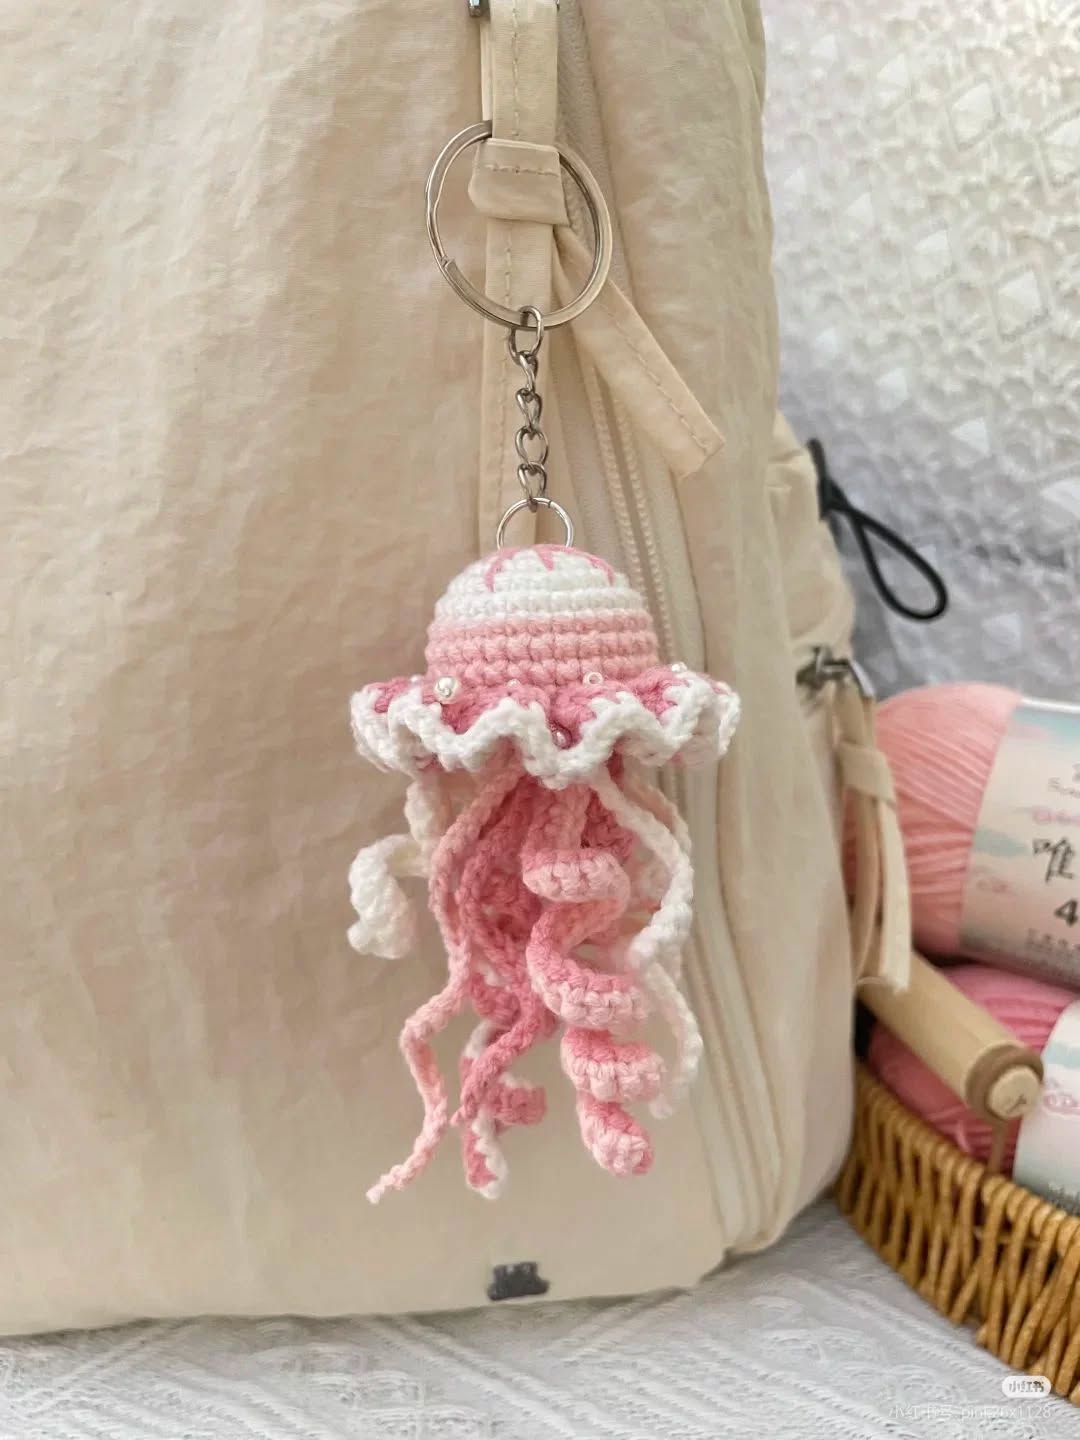
Overview & Design Inspiration
Welcome, fiber friends! Are you ready to dive into a project that is equal parts charming, practical, and wildly fun? The Crochet Jellyfish Keychain Pattern is an absolute delight that brings a splash of ocean magic right to your everyday accessories.
Whether you are looking to bust through your stash of yarn scraps or seeking a quick, gratifying project, this little creature steals hearts instantly. Its versatile design and playful tentacles make it a tiny work of art you can take anywhere.
Materials & Recommended Supplies
- Yarn: Lightweight cotton or acrylic yarns work best, keeping the keychain compact, durable, and structurally sound.
- Crochet Hook: A smaller hook size (such as 2.5mm to 3.25mm / US C/2 to D/3) ensures tight stitches so your stuffing stays securely inside.
- Notions: Sharp scissors, a yarn needle, and stitch markers to keep your continuous rounds organized.
- Stuffing: Lightweight polyester fiberfill for a perfectly plush, soft-to-the-touch head.
- Facial Details: Embroidery thread for a child-safe face, or small safety eyes if preferred.
- Hardware: A sturdy metal keychain ring or clasp to attach your finished creation.
Essential Techniques & Stitch Highlights
This pattern relies on foundational amigurumi techniques that build confidence for all skill levels. You will start with the classic magic ring, creating a seamless, tightly closed center that forms the top of the jellyfish’s head.
Working in continuous rounds using single crochet stitches allows you to build a smooth, bump-free dome. Strategic increases and decreases shape the body, while playful techniques like chain loops and spiral curls bring the dynamic tentacles to life.
Construction & Assembly Highlights
The journey begins at the crown, working your way down the rounded head with steady increases and even rounds. Before you close up the shape with decreasing stitches, you will gently tuck in your polyester fiberfill for that irresistibly squishy texture.
Next comes the most magical part: attaching the cascading tentacles. By varying the lengths and styles of your hanging strands, you achieve a whimsical, floating effect. Finally, a sturdy metal keychain ring is securely fastened to the top, ready for action.
Customization & Styling Ideas
The true beauty of this project lies in how easy it is to make it your own. Play with pastel shades for a dreamy aesthetic, or reach for vibrant, neon scraps to make a bold statement on your backpack.
You can easily switch up the yarn textures—try a velvety chenille yarn for a luxurious, plush finish, or use variegated yarn for spontaneous color changes. Add tiny embroidered smiles, sleepy winks, or even mini bows to give each jellyfish a unique personality.
Pro Tips for Flawless Results
- Maintain Consistent Tension: Keep your stitches tight to ensure the polyester fiberfill never peeks through the gaps.
- Embrace Stash-Busting: This project is a brilliant excuse to use up leftover yarn scraps from past amigurumi adventures.
- Secure Your Hardware: Double-check the knot and attachment point of your keychain ring to ensure it survives daily wear and tear.
Frequently Asked Questions
What skill level is required for this project?
This pattern is wonderfully beginner-friendly! As long as you are comfortable with basic single crochets, increases, decreases, and the magic ring, you will have a breeze making it.
How long does it take to make one jellyfish keychain?
Most crafters can whip up one of these adorable keychains in just one to three hours, making them fantastic quick-gift options.
Can I wash the finished keychain?
Yes, absolutely! We recommend gentle hand-washing with a mild detergent, followed by thoroughly air-drying the keychain to keep it fresh and clean.
Watch the Full Step-by-Step Video Tutorial
Prefer visual guidance? Follow along with the complete video tutorial below at your own pace: