
Overview & Design Inspiration
Welcome, fiber artists and cozy home enthusiasts! If you are looking for a project that combines everyday utility with undeniable charm, the Crochet Mouse Doorstop Amigurumi Pattern is your next big obsession. There is something truly magical about handmade decor that actually works hard in your home, bringing a smile to your face every time you walk into the room.
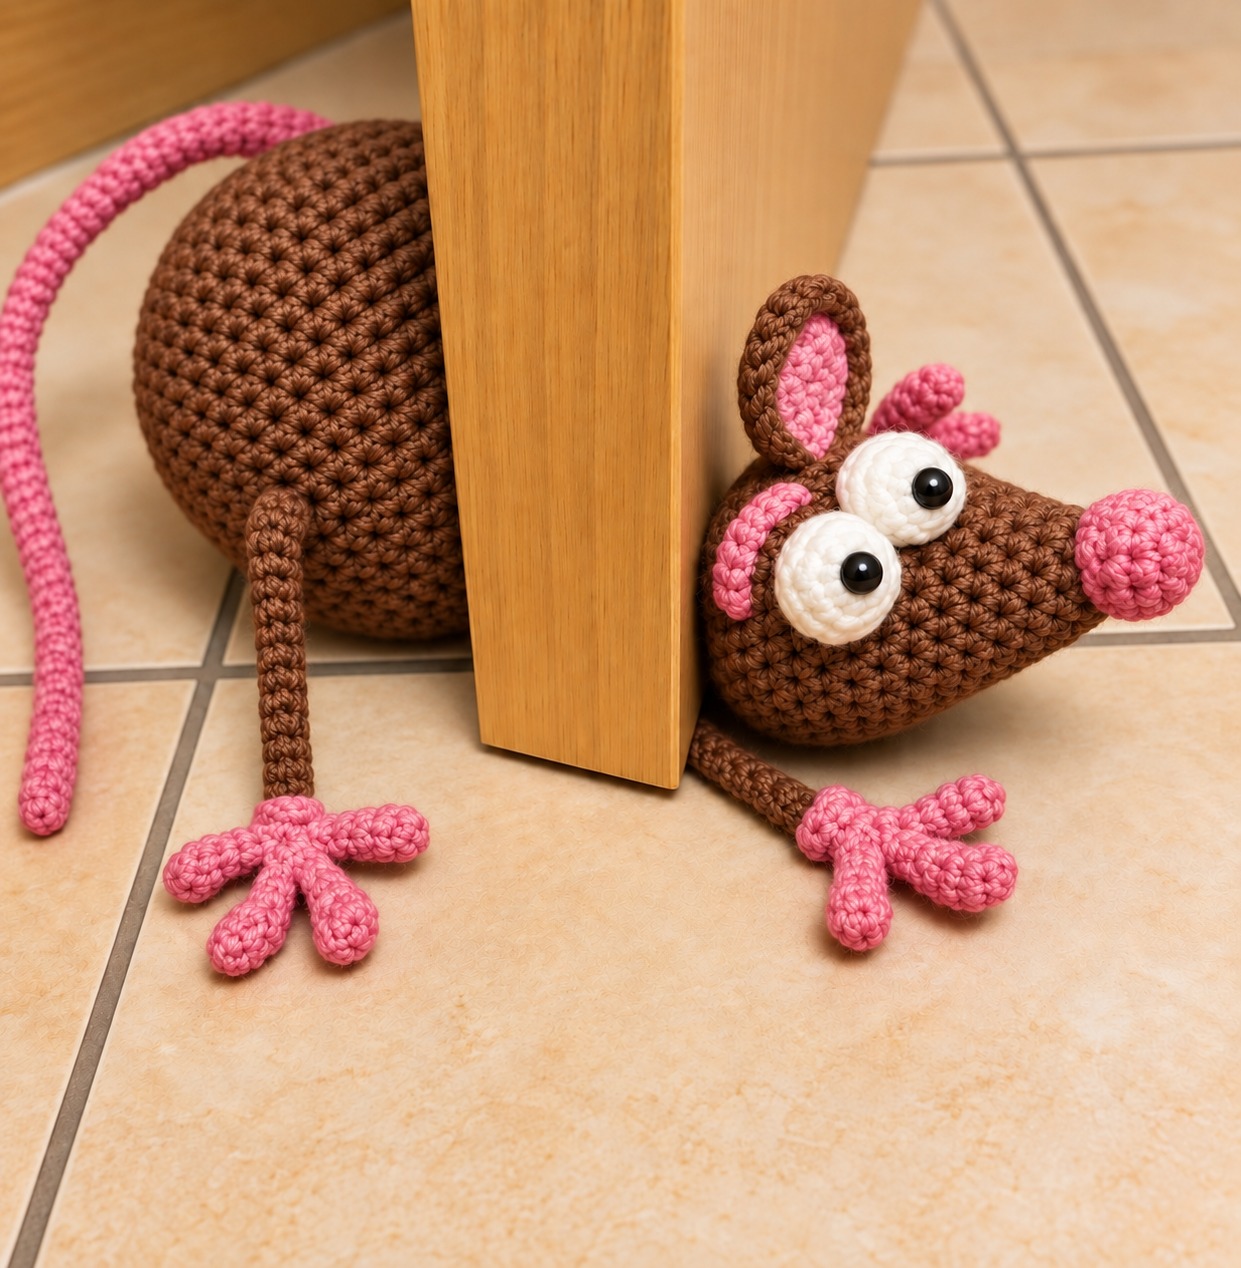
This whimsical little mouse is designed to look as though it is playfully peeking around the bottom of your door. With its plump, rounded body, oversized expressive eyes, and tiny stitched fingers, it adds a touch of warmth and personality to any hallway, bedroom, or nursery space.
Materials & Recommended Supplies
- Yarn: Medium-weight cotton or cotton-blend yarn. You will need about 150–200 grams of rich chocolate brown for the main body, 40–60 grams of bright pink for accents, and a small amount of white for the eyes.
- Crochet Hook: 3.0 mm or 3.5 mm hook to create a firm, sturdy fabric that securely holds its shape.
- Notions: Yarn needle, stitch markers, scissors, and soft polyester fiberfill for stuffing.
- Eyes: Two black safety eyes or matching black embroidery thread for the facial features.
- Weighted Insert: A securely sewn, double-enclosed fabric pouch filled with clean aquarium gravel or similar non-sharp weight.
Essential Techniques & Stitch Highlights
Working on this amigurumi mouse is a fantastic way to stretch your crochet skills while enjoying a deeply satisfying project. The entire design relies on foundational amigurumi techniques like the magic ring, continuous spiral rounds, and shaping through invisible increases and decreases.
Because this project functions as a doorstop, mastering consistent, snug tension is your secret weapon. Keeping your stitches tight and even ensures that the polyester stuffing and heavy interior pouch stay safely locked away while creating a smooth, professional finish.
Construction & Assembly Highlights
The magic of this pattern lies in how its individual components come together. You will begin by crocheting a generous, bowl-shaped body that eventually tapers inward, allowing you to nestle your weighted pouch and fiberfill snugly inside before closing.
Next comes the tapered head, expressive oversized ears, and delicate limbs, which are crocheted separately and stitched securely to the main body. Careful positioning of the head and tail gives the mouse its signature curious posture as it rests against your doorframe.
Customization & Styling Ideas
Feel free to make this adorable mouse entirely your own by playing with custom color palettes! Try a soft dove grey for a classic field mouse look, or dress it up for the seasons with a tiny crocheted scarf or floral crown.
While designed primarily to prop open lightweight interior doors, this charming critter also makes a wonderful standalone shelf sitter or a heartfelt handmade housewarming gift for friends who adore whimsical home accents.
Pro Tips for Flawless Results
- Double-Bag Your Weights: Always use two sealed fabric pouches for your gravel to prevent any tiny leaks over time.
- Check Your Tension: If you see fiberfill peeking through your stitches, drop down a hook size to create a denser, sturdier fabric.
- Pin Before Sewing: Use locking stitch markers or sewing pins to test the placement of the head and ears before permanently attaching them.
Frequently Asked Questions
Is this crochet mouse doorstop suitable for beginners?
Yes, absolutely! While it involves shaping and assembly, the individual components are built using basic single crochets, increases, and decreases.
Can I wash this project in the washing machine?
Because of the weighted gravel insert, machine washing is not recommended. Instead, gently spot-clean the surface yarn with a damp cloth and mild soap as needed.
Is this item safe to use as a toy for children or pets?
No, this piece contains small decorative elements and a heavy weighted interior, making it strictly a functional home accessory rather than a toy.
Watch the Full Step-by-Step Video Tutorial
Prefer visual guidance? Follow along with the complete video tutorial below at your own pace: