
Overview & Design Inspiration
Welcome, fellow yarn lovers! There is something deeply magical about watching a simple ball of yarn transform into a rich, textured fabric. Today, we are diving headfirst into the timeless beauty of the Crochet Shell Stitch Blanket Pattern.
This design combines delicate textures, vibrant rows, and an elegant handmade aesthetic that instantly warms up any living space. Whether you are crafting a cozy heirloom piece for your sofa or searching for a heartfelt handmade gift, this project offers the ultimate blend of rhythmic stitching and visual wonder.
Materials & Recommended Supplies
- Yarn: Medium-weight (Category 4 / Worsted) yarn. Acrylic is fantastic for easy care, while cotton blends and washable wools offer incredible breathability and warmth.
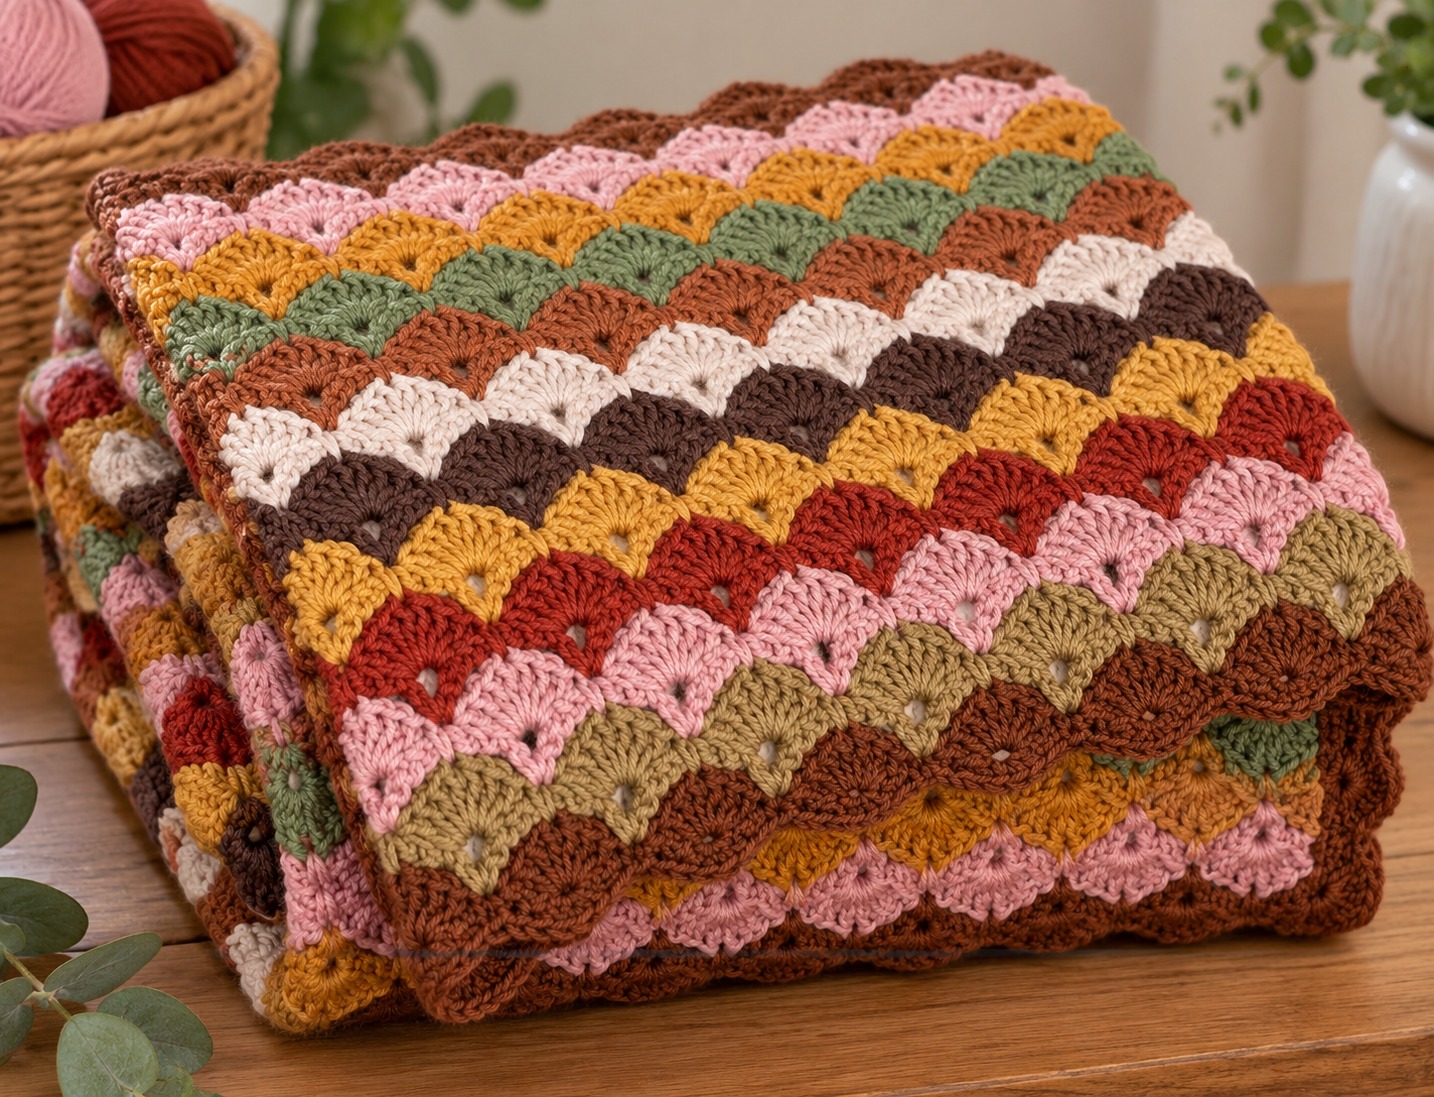
- Color Palette: Inspired by our vintage-style sample featuring dusty rose, burnt orange, mustard yellow, sage green, cream, chocolate brown, and terracotta.
- Crochet Hook: 5.0 mm (H/8) crochet hook, or the ideal size to match your personal tension and yarn choice.
- Notions: Sharp scissors, a yarn needle for weaving in ends, and stitch markers to keep your rows trackable.
Essential Techniques & Stitch Highlights
At the heart of this blanket is the iconic crochet shell stitch, a decorative technique created by working multiple tall stitches into a single space. These spreading fans produce a gentle wave across the fabric that looks wonderfully intricate yet relies on familiar foundational skills.
Using a classic five-double-crochet shell variation, you will create a stunning overlapping texture. As you alternate rows of shells and single crochet anchor stitches, the fabric builds a gorgeous scalloped appearance that makes even basic solid colors look exceptionally sophisticated.
Construction & Assembly Highlights
The blanket begins with a relaxed foundation chain calculated in multiples of six, plus two additional chains for balance. Working a simple foundation swatch is a great way to check your gauge before diving into a full-sized project.
The construction flows intuitively as you alternate rows of full shells and half-shell edges. This clever shifting arrangement nests the shells into the spaces of the previous row, building a seamless, layered fabric that grows row by satisfying row.
Customization & Styling Ideas
One of the greatest joys of this pattern is its incredible versatility. You can easily adjust your starting chain to craft anything from a tiny, snuggly baby blanket to a generous throw for your bed or sofa.
Play with your color palette to match your home decor—try soothing pastels like lavender and blush pink for a nursery, or lean into rich neutrals like cream, beige, and warm gray for a modern farmhouse vibe.
Pro Tips for Flawless Results
- Maintain Consistent Tension: Keep your foundation chain and working stitches relaxed so your shell fans can spread out naturally.
- Count Your Stitches: Double-check your stitch placement on the first few rows to ensure your shell alignment stays perfectly crisp.
- Weave As You Go: Tackling your tail ends after each major color transition makes the final finishing process an absolute breeze.
- Block Your Blanket: A gentle steam block will relax the fibers and give your scalloped edges a stunning, professional finish.
Frequently Asked Questions
Is the crochet shell stitch difficult for beginners?
Not at all! While the finished blanket looks complex, it is built entirely from basic stitches like chains, single crochets, and double crochets grouped together in a rhythmic repeating sequence.
Can I use different yarn weights for this pattern?
Yes, absolutely. You can adapt the pattern for lightweight yarns for a delicate baby blanket, or bulky yarns for an extra-cozy, rapid-fire winter throw, just be sure to adjust your hook size accordingly.
How do I change colors neatly between rows?
For clean color transitions, work your final stitch of the old color up to the last step, drop the old yarn, and pull your new color through the final loops on your hook to start the next row.
Watch the Full Step-by-Step Video Tutorial
Prefer visual guidance? Follow along with the complete video tutorial below at your own pace: