
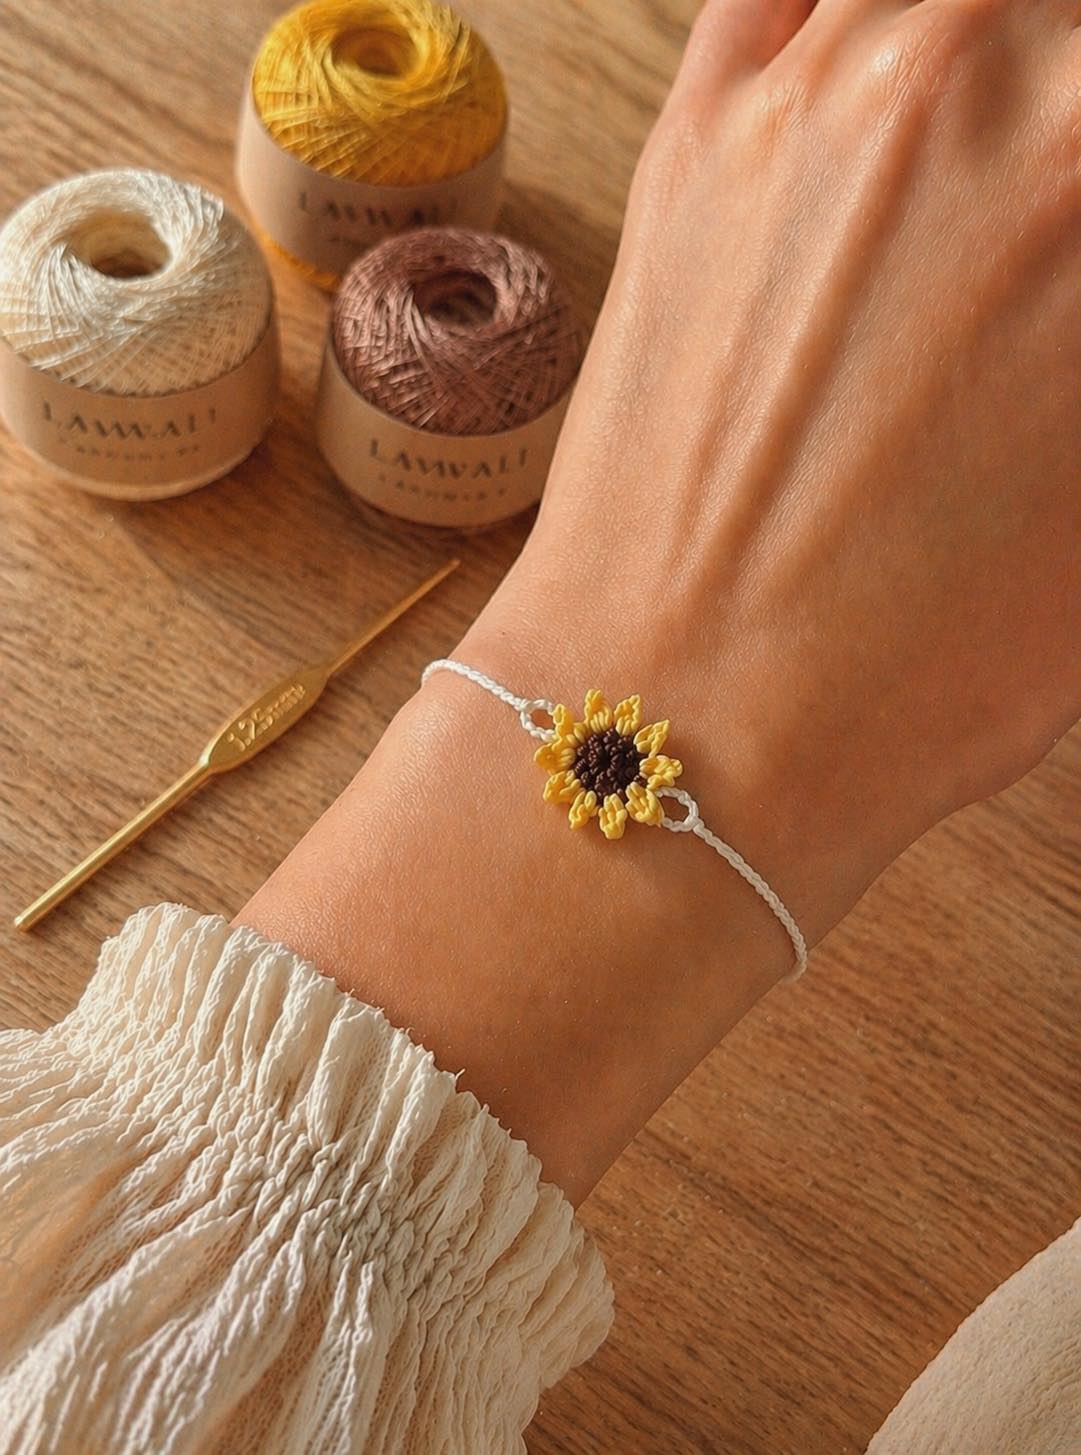
Overview & Design Inspiration
Welcome, my fellow yarn lovers! There is something utterly magical about capturing the vibrant joy of a sunflower and transforming it into a wearable piece of art. If you are looking for a project that delivers instant gratification while sparking endless creativity, you are going to fall head over heels for the Crochet Sunflower Bracelet Pattern.
This charming design blends delicate craftsmanship with a heavy dose of nature-inspired beauty. Whether you are crafting a sunny accessory for yourself or searching for a thoughtful, handmade gift that will bring an instant smile to a friend’s face, this blooming beauty strikes the ultimate balance between playful and chic.
Materials & Recommended Supplies
- Yarn: Lightweight #3 cotton yarn (or embroidery floss for a daintier look). Cotton is the absolute gold standard here because it offers fantastic stitch definition and durable wear.
- Crochet Hook: 2.25 mm (US Steel Size B/1 or Metric) or a 2.5 mm hook to keep your stitches nice, tight, and structured.
- Notions: A sharp pair of embroidery scissors and a tapestry needle for weaving in those tiny ends seamlessly.
- Embellishments: Optional buttons, seed beads, or snap closures to give your bracelet a polished, secure finish.
Essential Techniques & Stitch Highlights
Bringing this floral motif to life is a wonderfully meditative experience. You will start at the heart of the bloom using rich brown yarn, working foundational stitches in the round to form a wonderfully textured, compact seed center.
Next comes the best part: blooming your petals! Utilizing tall, graceful stitches like half double and double crochets, you will build rich, elongated petals that radiate outward. Maintaining a steady, even rhythm ensures every single petal sits proud and perky.
Construction & Assembly Highlights
Once your radiant sunflower motif is complete, the project transitions into crafting a simple, comfortable bracelet band. You can easily crochet a foundational chain or a slim strap of single crochets tailored specifically to fit your wrist.
Attaching your sunflower is where your artistic flair truly shines. You can sew the blossom directly onto the center of the band for a secure, professional hold, and finish the whole piece off with a charming button or adjustable tie closure.
Customization & Styling Ideas
One of the absolute best things about this project is how endlessly adaptable it is! Swap out traditional sunny yellows for moody jewel tones, soft pastels, or bold neon shades to match your unique seasonal wardrobe.
You can also string together a cluster of smaller mini-sunflowers for a statement cuff, or add tiny glass beads to the center of the bloom to mimic glistening morning dew. The styling possibilities are entirely up to your imagination!
Pro Tips for Flawless Results
- Keep your tension firm: A smaller hook paired with crisp cotton yarn guarantees your sunflower petals won’t flop or curl over time.
- Master the invisible join: Take your time fastening off the flower center so your color transitions remain completely hidden and neat.
- Block for perfection: A quick, gentle steam or damp press will relax your cotton stitches and make your sunflower pop with crisp, professional definition.
Frequently Asked Questions
What skill level is required for this crochet sunflower bracelet?
This project is wonderfully beginner-friendly! If you are already comfortable working in the round and know basic stitches like single and double crochet, you will cruise right through this pattern.
How long does it take to make one bracelet?
It is a wonderfully quick project! Most crafters can easily whip up a complete sunflower bracelet in just an hour or two, making it the ultimate weekend or evening palette cleanser.
Can I wash my handmade crochet bracelet?
Yes, absolutely! Because we recommend durable cotton yarn, you can gently hand wash your bracelet in lukewarm water with mild soap, then lay it flat to dry and retain its shape.
Watch the Full Step-by-Step Video Tutorial
Prefer visual guidance? Follow along with the complete video tutorial below at your own pace: