
Overview & Inspiration
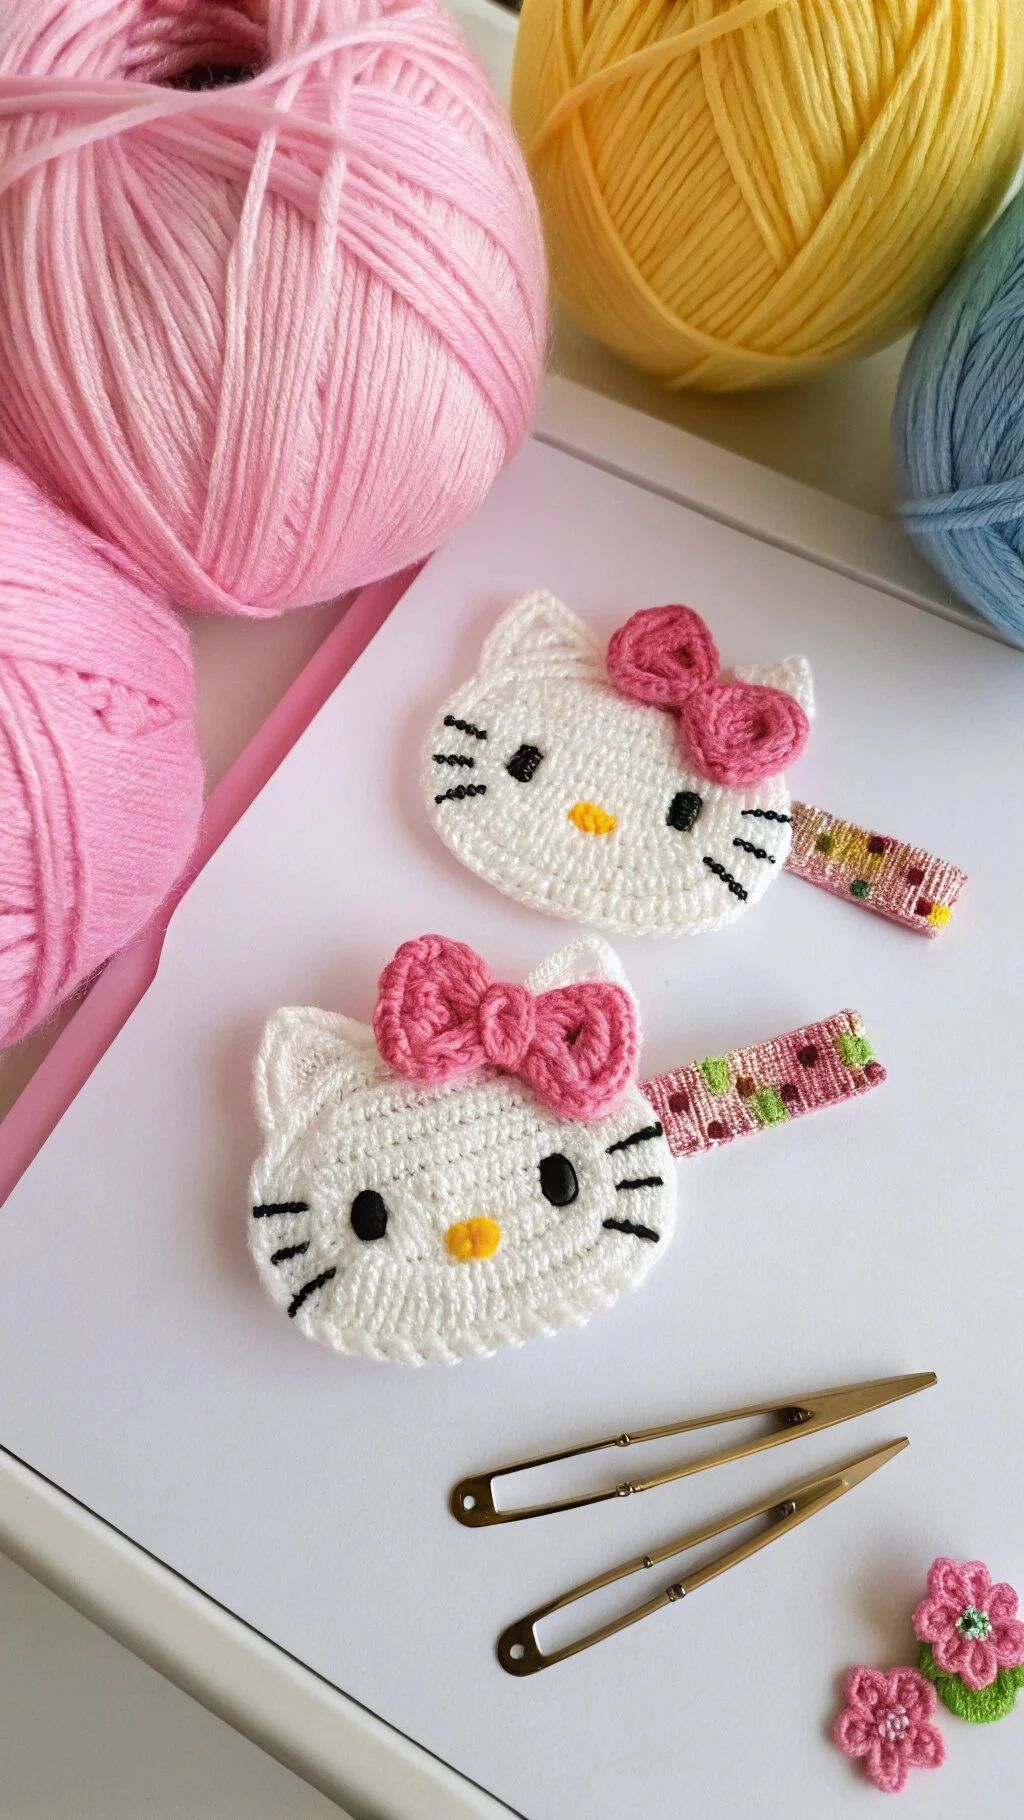
Hello, my wonderful crochet family! Welcome back to the blog where we celebrate all things cozy, cute, and handmade. Today, I am beyond thrilled to share a project that brings an instant smile to everyone’s face: our brand-new, adorable Hello Kitty Applique pattern!
Whether you are looking to embellish a cute baby blanket, jazz up a plain canvas tote bag, or create a sweet gift for a beloved friend, this motif is pure joy to stitch up. Grab your hooks, settle into your favorite crafting nook, and let us dive into the wonderful world of kawaii crochet!
Materials & Supplies Needed
- Yarn weight: Sport weight or DK yarn in White, Yellow, Red, and Black
- Fiber content: 100% Cotton for crisp stitch definition
- Colors: White (main body), Yellow (nose), Red (bow), Black (eyes and whiskers)
- Hook size: 2.5 mm (US Steel B/1 or C/2)
- Tapestry needle for weaving in ends
- Stitch markers
- Scissors
- Fiberfill stuffing (optional, if you prefer a slightly puffy applique)
Stitches & Abbreviations
- ch – Chain
- sl st – Slip stitch
- sc – Single crochet
- hdc – Half double crochet
- dc – Double crochet
- st(s) – Stitch(es)
- rep – Repeat
- FO – Fasten off
Step-by-Step Pattern Instructions
We will build our Hello Kitty applique by starting with the main head base in white, followed by her iconic signature bow, cute facial features, and delicate whiskers.
Head Base (White Yarn)
Working in joined rounds, make sure to sl st to join each round and ch 1 at the beginning of a new round unless otherwise specified.
- Magic ring, work 6 sc into the ring, sl st to join. [6 sts]
- Ch 1, work 2 sc in each st around, sl st to join. [12 sts]
- Ch 1, *1 sc in next st, 2 sc in next st; rep from * around, sl st to join. [18 sts]
- Ch 1, *1 sc in next 2 sts, 2 sc in next st; rep from * around, sl st to join. [24 sts]
- Ch 1, sc in each st around, sl st to join. [24 sts]
- FO white yarn, leaving a long tail for sewing.
Signature Bow (Red Yarn)
Working in rows to create the sweet bow shape.
- Ch 9, starting in 2nd ch from hook, work sc in each ch across, turn. [8 sts]
- Ch 1, sc in each st across, turn. [8 sts]
- FO red yarn, leaving a long tail. Wrap the center tail tightly around the middle of the rectangle several times to form the classic bow cinch, and secure tightly at the back.
Facial Features & Whiskers
Using your 2.5 mm hook and yellow yarn:
- Nose: Magic ring, work 4 sc, sl st to join, FO leaving a tail. [4 sts]
Using your tapestry needle and black yarn:
- Eyes: Embroider French knots or simple straight stitch eyes positioned symmetrically below the ears.
- Whiskers: Embroider three small horizontal straight stitches on each side of the cheeks.
Assembly & Finishing Touches
Lay your finished white head base flat on a clean surface and pin your sweet red bow securely to the upper right ear region. Thread your tapestry needle with the matching yarn tails and carefully whip stitch the bow in place.
Position the yellow nose right in the center of the face, just below the eyes, and secure it with tiny, neat stitches. Weave in all loose yarn tails securely on the wrong side of the applique to ensure a clean, professional finish.
Pro Tips for Flawless Results
- Maintain a consistent, slightly snug tension so your cotton stitches hold their shape beautifully without curling.
- Use locking stitch markers to temporarily pin your facial features in place before sewing to check symmetry.
- Block your finished applique lightly with steam or a damp cloth to ensure crisp, clean edges on the head base and bow.
Frequently Asked Questions
Can I use acrylic yarn instead of cotton?
Yes, absolutely! While cotton yarn gives a wonderful, crisp stitch definition that is ideal for appliques, acrylic yarn will also work wonderfully and makes the project machine washable.
How do I attach this applique to my crochet projects?
You can easily attach your finished Hello Kitty applique using a standard whip stitch or mattress stitch with a matching thread color and your tapestry needle.
Can I resize this pattern to make it bigger?
You certainly can! Simply switch to a heavier weight yarn, such as Worsted Weight, and a larger hook size (like a 4.0 mm or 5.0 mm hook) to create a much larger statement applique.
Watch the Full Step-by-Step Video Tutorial
Prefer visual guidance? Follow along with the complete video tutorial below at your own pace: