
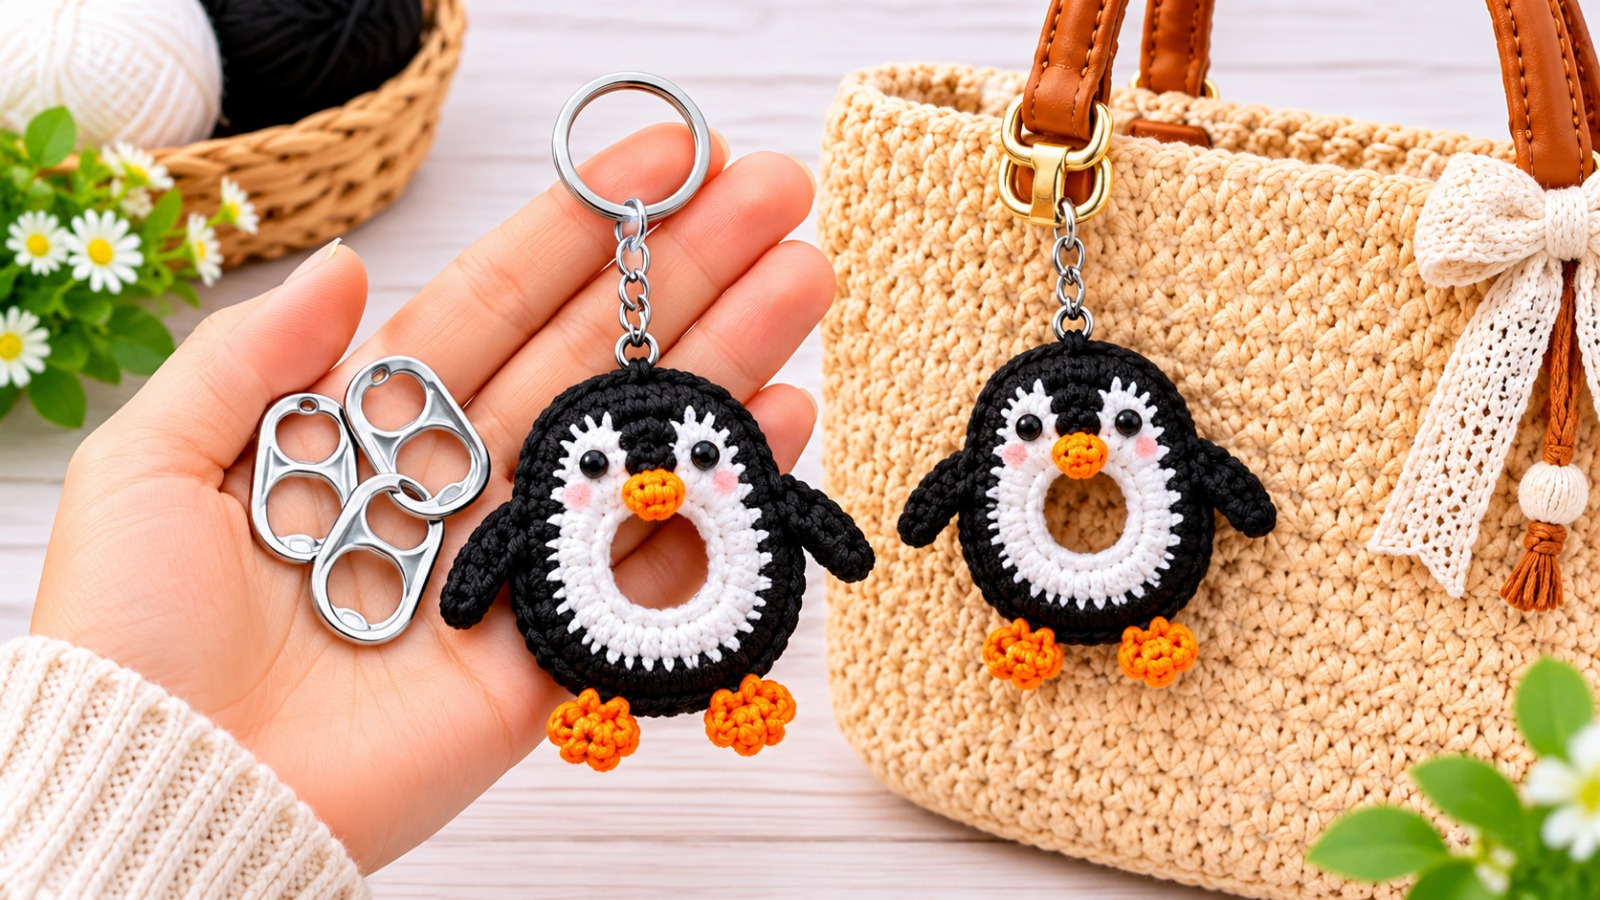
Overview & Design Inspiration
Welcome, fellow yarn lovers, to a wonderfully creative space where sustainability meets adorable handmade charm! If you are searching for a project that transforms everyday household items into a delightful little companion, you are going to fall completely in love with the Crochet a Cute Penguin Keychain Using Can Tabs Pattern.
There is something undeniably magical about taking recycled materials and crafting them into a tactile, expressive little work of art. This clever design uses aluminum can pull tabs as a sturdy interior foundation, wrapping them in cozy cotton yarn to build a lightweight, ultra-durable accessory that brings a smile to your face every single day.
Materials & Recommended Supplies
Gathering your supplies is half the fun, and this project is wonderfully budget-friendly since it relies on items you likely already have around the house!
- Yarn: Smooth cotton yarn in black, white, and bright orange (plus a touch of pink for rosy cheeks). Cotton provides crisp stitch definition and a durable finish perfect for accessories.
- Recycled Materials: Three clean, undamaged aluminum beverage can tabs (free of sharp edges).
- Crochet Hook: 2.5 mm hook to ensure tight, neat stitches that conceal the metal foundation completely.
- Notions: Yarn needle, small scissors, stitch markers, and a metal keychain ring with a short connecting chain.
- Embellishments: Small black safety eyes or embroidery floss for stitched eyes.
Essential Techniques & Stitch Highlights
Mastering this charming penguin is all about combining everyday crochet basics with clever structural techniques. If you know your way through fundamental stitches like the single crochet (sc), increases (inc), and working in joined rounds, you are already well-equipped for this adventure.
The true star of the show here is the art of crocheting directly around a rigid frame. Instead of working into a standard yarn foundation, you will insert your hook right through the openings of the prepared aluminum tabs, building your first row of stitches securely over the metal. This creates an amazingly sturdy, lightweight core that keeps your little penguin’s shape intact no matter how many times it bounces around in your bag.
Construction & Assembly Highlights
Bringing your penguin to life is an intuitive process of building structure, shape, and personality. You will start by securely binding your three clean can tabs into a neat overlapping cluster, forming a reinforced oval framework.
Next comes the satisfying process of crocheting your first round directly over the metal edges, completely covering the aluminum while keeping that cute central belly opening visible. From there, you will work a series of rounded expansion rounds with your black and white yarn to flesh out the chubby, huggable body. Once your front and back panels are complete, you will neatly seam them together, embroider or secure those sweet little facial features, and attach your hardware for instant accessorizing.
Customization & Styling Ideas
One of the greatest joys of handmade crafting is the freedom to make each piece entirely your own! You can easily play with color palettes to turn your penguin into a festive holiday ornament, a graduation keepsake sporting a tiny cap, or a pastel-hued dream by swapping classic black for soft mints and lavenders.
These miniature cuties require very little yarn, making them the absolute best stash-busting project for your leftover scraps. Clip them onto your everyday handbag, use them as zipper pulls on your favorite backpack, or gift them to friends and family as thoughtful, eco-friendly tokens of appreciation.
Pro Tips for Flawless Results
- Inspect Your Tabs: Always run your fingers along the edges of your can tabs before starting to ensure there are no sharp burrs or cracks that could snag your yarn.
- Maintain Consistent Tension: Keep your stitches nice and snug as you work around the metal foundation so the aluminum stays completely hidden beneath a professional-looking casing.
- Opt for Embroidery: If this keychain is heading to a younger recipient or will experience heavy daily wear, embroidered eyes eliminate any worry over loose plastic components.
- Secure Your Hardware: Double-check that your connecting jump rings and chains are firmly closed so your hard work stays securely attached to your keys.
Frequently Asked Questions
Can I make this project if I am a beginner crocheter?
Absolutely! While crocheting around a metal tab requires a little bit of patience, the stitches themselves rely on basic single crochet techniques and simple increases. Take it slow on the first foundation round, and you will do wonderfully.
Are the aluminum can tabs dangerous or sharp?
As long as you carefully select smooth, undamaged tabs and wash them thoroughly, they are completely safe to use. Always discard any pull tabs that have jagged edges, cracks, or rough metal burrs.
How do I access the full step-by-step pattern and printable instructions?
You can easily download our comprehensive PDF pattern or follow along with the companion video tutorial linked at the top and bottom of this page for a complete, round-by-round walkthrough!
Watch the Full Step-by-Step Video Tutorial
Prefer visual guidance? Follow along with the complete video tutorial below at your own pace: