
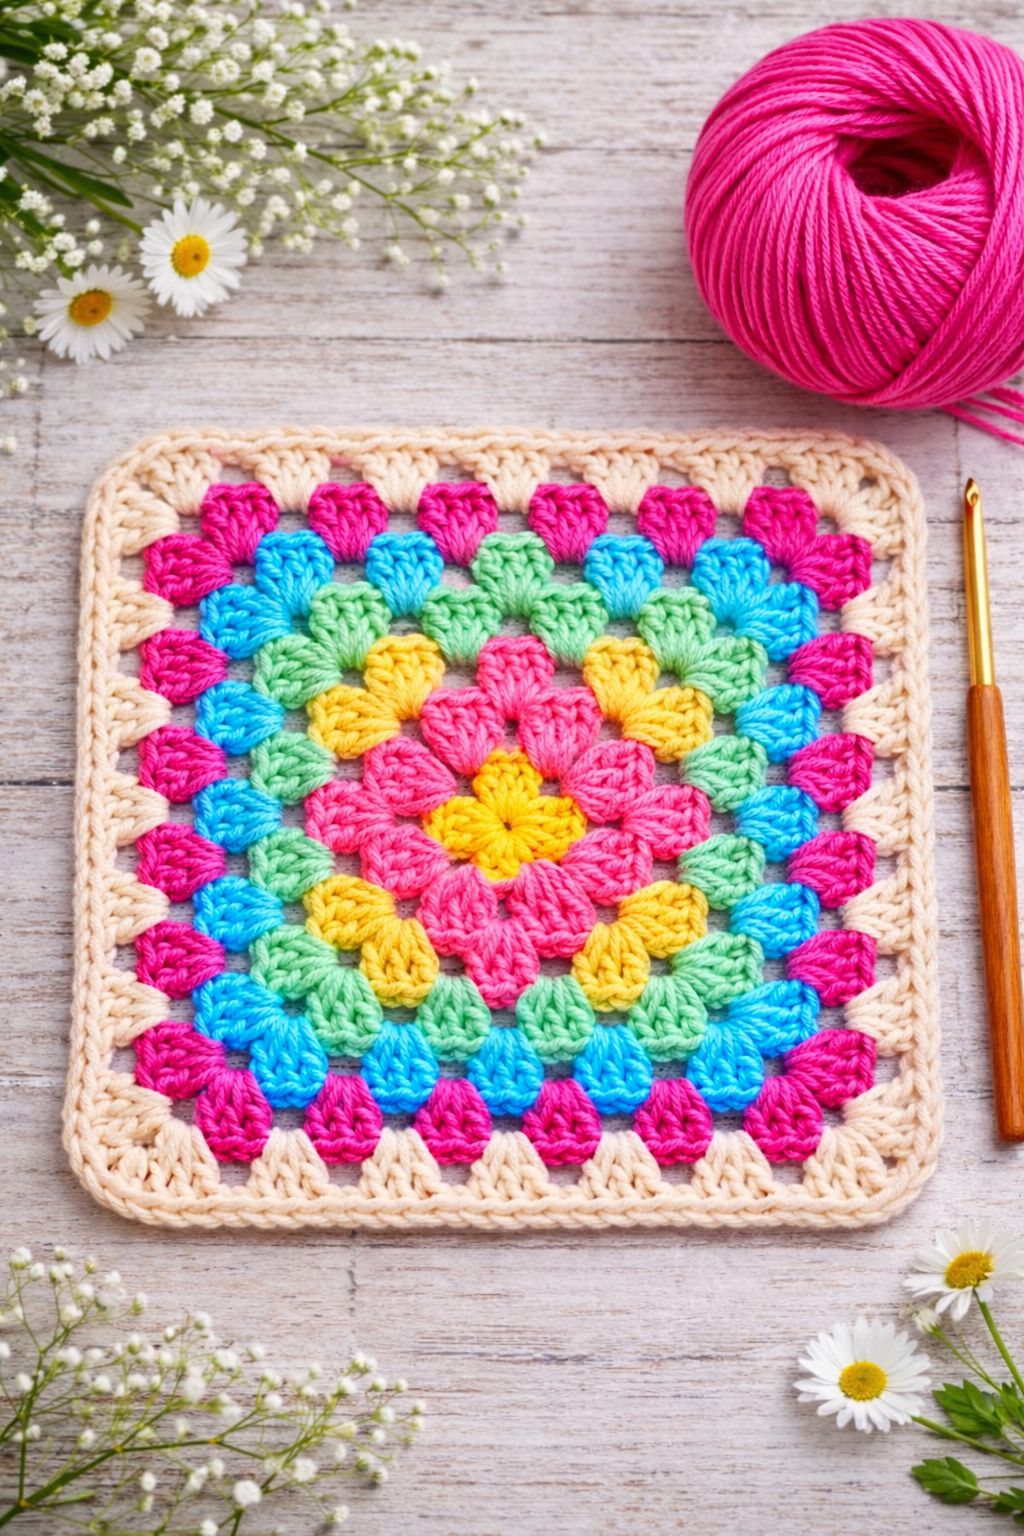
Overview & Inspiration
Welcome to the wonderful, colorful world of crochet! If you have ever admired cozy vintage blankets, trendy handmade cardigans, or stylish market bags, chances are they were brought to life using the timeless granny square.
The beauty of this classic motif lies in its simplicity and versatility. Built from repeating clusters, it teaches essential techniques like working in the round, reading patterns, and managing your tension, turning a simple ball of yarn into a rhythmic, relaxing masterpiece.
Materials & Supplies Needed
- Medium-weight yarn (worsted weight, ideally acrylic or cotton for visibility and durability)
- Yarn colors of your choice (use a single solid color or change colors every round)
- Crochet hook size 4.0 mm to 5.5 mm (matching your yarn label recommendation)
- Tapestry needle for weaving in ends
- Stitch markers (optional, but helpful for tracking corners)
- Scissors
Stitches & Abbreviations
- ch = chain stitch
- dc = double crochet
- sl st = slip stitch
- st(s) = stitch(es)
- sp(s) = space(s)
Step-by-Step Pattern Instructions
To begin your granny square, start by making a slip knot and chaining four stitches. Join with a slip stitch into the first chain to form a central loop [4 chs].
Round 1
Chain three stitches to act as your first double crochet. Work two additional double crochets into the center loop to form your first cluster [3 dc].
Chain two stitches to create the first corner space. Work three more double crochets into the center loop for the second cluster [3 dc, 2 ch].
Repeat this process twice more until you have four total clusters separated by chain-two corner spaces [12 dc, 4 ch-2 sps].
Join the round with a slip stitch to the top of your starting chain-three to close the round [12 dc].
Round 2
Slip stitch into the next two stitches and into the corner space. Chain three, then work two double crochets, chain two, and work three more double crochets into the same corner space [6 dc, 1 ch-2 sp].
Move to the next corner space and repeat the corner cluster process: work three double crochets, chain two, and three double crochets [12 dc, 2 ch-2 sps].
Continue around until all four corners are complete. Join with a slip stitch to the top of the starting chain-three to close the round [24 dc, 4 ch-2 sps].
Subsequent Rounds
For any further rounds, slip stitch across to the next corner space. Work your corner clusters (three double crochets, chain two, three double crochets) into each corner space.
In any side spaces between the corners, work three double crochets. Join each round with a slip stitch to the top of the starting chain-three.
Assembly & Finishing Touches
Once your square reaches your desired size, fasten off your yarn, leaving a six-inch tail. Thread your tapestry needle with the tail and weave it back and forth securely through the back of your stitches.
To give your squares a professional, crisp finish, consider blocking them. Pin your finished squares to a blocking board, mist them lightly with water, and let them dry completely.
Pro Tips for Flawless Results
- Keep your hand positioning consistent to maintain even tension so your squares never curl or bulge.
- Always remember to include the chain-two spaces in your corners to preserve those sharp, defined square edges.
- Double-check that your starting chain is not twisted before joining it into your initial foundation ring.
- Count your clusters at the end of every round to ensure your square grows symmetrically on all four sides.
Frequently Asked Questions
What is the easiest yarn for beginners learning the granny square?
Medium-weight acrylic or cotton yarn is best because it is durable, affordable, and makes individual stitches very easy to see.
How many rounds should a basic granny square have?
There is no fixed rule! Many makers start with four to six rounds per square, but you can keep adding rounds until your square reaches the exact size you need.
Why does my granny square look round instead of square?
This usually happens if you accidentally skip the chain-two spaces in your corners. Those chain spaces are vital for creating the structural corners that give the square its shape.
Watch the Full Step-by-Step Video Tutorial
Prefer visual guidance? Follow along with the complete video tutorial below at your own pace: