
Overview & Inspiration
Hello, fellow yarn lovers! Spring is officially in the air, and there is nothing quite like welcoming the season into your home with handmade decor.
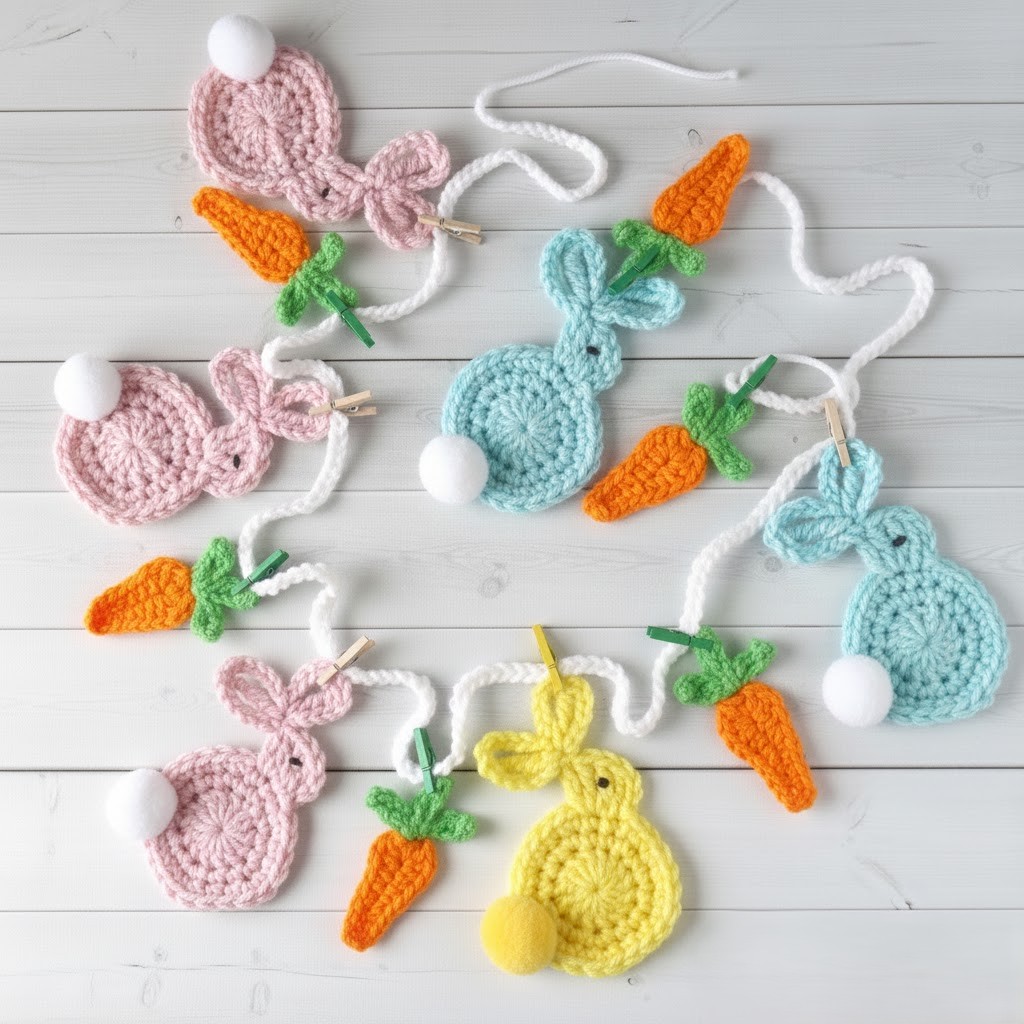
This charming crochet Easter garland combines playful motifs and delicate pastel textures into a relaxing weekend project that fills any space with warmth and joy.
Materials & Supplies Needed
- Lightweight (#3) cotton yarn in assorted pastel colors (soft pink, baby blue, mint green, pale yellow, and lavender)
- Crochet hook: 3.5 mm (US size E/4)
- Tapestry needle for weaving in ends and seaming
- Stitch markers for keeping count in the round
- Sharp scissors
- Optional: Small amount of polyester fiberfill for stuffing 3D motifs
Stitches & Abbreviations
- ch = chain
- sl st = slip stitch
- sc = single crochet
- dc = double crochet
- inc = increase (work 2 sc in the same stitch)
- dec = decrease (sc 2 together)
- st(s) = stitch(es)
- rep = repeat
Step-by-Step Pattern Instructions
1. Crochet Easter Egg Motif
Using your chosen pastel cotton yarn and a 3.5 mm hook, begin with a magic ring.
- Round 1: Work 6 sc in magic ring, join with sl st to first sc. [6 sts]
- Round 2: Ch 1, work 2 sc in each st around, join. [12 sts]
- Round 3: Ch 1, (sc in next st, inc in next st) rep around, join. [18 sts]
- Rounds 4 to 6: Ch 1, sc in each st around, join. [18 sts]
- Round 7: Ch 1, (sc in next st, dec in next st) rep around, join. [12 sts]
- Round 8: Ch 1, dec 6 times, join, fasten off leaving a long tail for assembly. [6 sts]
2. Simple Spring Flower Motif
Using a contrasting pastel yarn:
- Round 1: Ch 5, join with sl st to first ch to form a ring.
- Round 2: (Ch 3, work 2 dc into the ring, ch 3, sl st into the ring) rep 5 times to create 5 distinct petals. Fasten off and weave in ends.
3. The Foundation Garland Cord
Using your main neutral or pastel cord yarn:
- Row 1: Ch 200 (or desired length to fit your display space), leaving a 15 cm tail at both ends for secure hanging. Fasten off.
Assembly & Finishing Touches
Lay your finished foundation chain flat on a clean surface and arrange your crocheted eggs and flowers at even 10 cm intervals along the strand.
Use your tapestry needle and matching yarn tails to sew each motif securely to the chain, checking alignment frequently for a balanced look.
Lightly dampen your completed garland and block any flat motifs on a flat surface to enhance crisp stitch definition and ensure a polished finish.
Pro Tips for Flawless Results
- Maintain a consistent yarn tension so that all your Easter egg motifs turn out uniform in size.
- Use stitch markers at the start of each round when working in a spiral to avoid miscounts.
- Secure all ends tightly with a tapestry needle and trim neatly to keep your handmade garland looking professional.
Frequently Asked Questions
Can absolute beginners make this crochet Easter garland?
Yes, absolutely! The pattern uses basic stitches like chains, single crochets, and double crochets, making it very accessible for newer crafters.
What is the best yarn choice for this project?
Lightweight cotton yarn is highly recommended because it holds its shape wonderfully and provides clean, crisp stitch definition for holiday decor.
How do I adjust the length of the garland?
You can easily customize the length by making your initial foundation chain longer or shorter and simply crocheting more or fewer motifs to fill the space.
Watch the Full Step-by-Step Video Tutorial
Prefer visual guidance? Follow along with the complete video tutorial below at your own pace: