
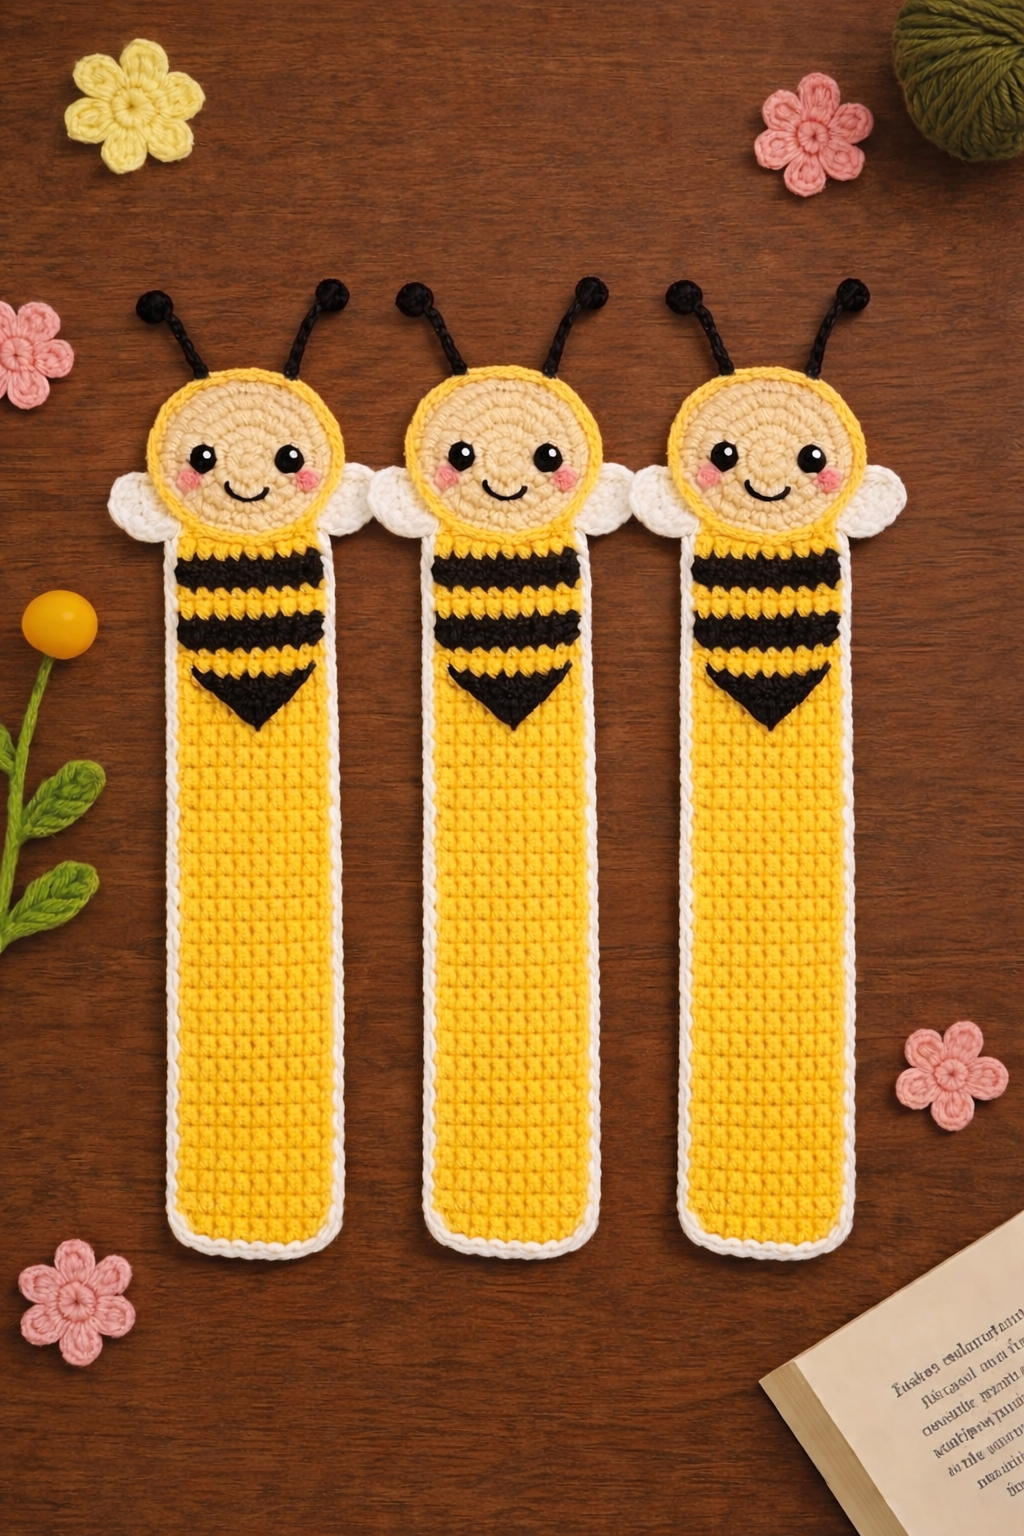
Overview & Inspiration
Welcome, fellow yarn lovers! If you are looking for a delightful, quick, and utterly charming project, you are going to fall head over heels for the Crochet Bee Bookmark Pattern. This adorable little bee brings a cheerful handmade touch to your reading routine while letting you practice your core crochet skills.
Whether you are crafting a thoughtful gift for a favorite teacher, a book-loving friend, or treating yourself, this versatile pattern hits all the right notes. It is fast to whip up, portable, and a fantastic way to use up those precious leftover scraps from your yarn stash.
Materials & Supplies Needed
- Lightweight (Sport or Fingering / #2 or #3) cotton yarn in Yellow, Black, and White
- Small amounts of pink or beige yarn for optional cheek accents
- Crochet hook: 2.5 mm to 3.5 mm (US C/2 to E/4)
- Yarn needle (tapestry needle) for weaving in ends
- Sharp scissors
- Stitch markers (optional)
Stitches & Abbreviations
- ch: chain
- sc: single crochet
- sl st: slip stitch
- st(s): stitch(es)
- rep: repeat
Step-by-Step Pattern Instructions
Let’s dive into making your very own crochet bee bookmark! We will start with the foundation chain that determines the slim, flexible backbone of your design.
The Bee Body
Using your yellow yarn, start with a foundation chain (ch) that creates your desired bookmark length [approx. 30 to 40 chs depending on book size].
Row 1: Working into the 2nd ch from the hook, work 1 sc in each chain across. Turn. [38 sts]
Rows 2 – 3 (Yellow): Ch 1, work 1 sc in each st across. Fasten off yellow yarn at the end of Row 3. [38 sts]
Rows 4 – 5 (Black): Join black yarn, ch 1, work 1 sc in each st across. Fasten off black yarn at the end of Row 5. [38 sts]
Rows 6 – 7 (Yellow): Join yellow yarn, ch 1, work 1 sc in each st across. Fasten off yellow yarn at the end of Row 7. [38 sts]
Rows 8 – 9 (Black): Join black yarn, ch 1, work 1 sc in each st across. Fasten off black yarn at the end of Row 9. [38 sts]
The Bee Head
Using your black yarn, attach it to the top end of the body to form a neat, rounded head shape.
Head Round/Row: Work a small cluster of sc stitches across the top edge, slightly decreasing or shaping to form a neat semi-circle, then fasten off securely. [6 sts]
The Wings
Using white yarn, we will create delicate, airy wings to attach near the top of the bee’s body.
Wing 1 & 2: Ch 6, join with a sl st to form a small loop, ch 4, sl st back into the base. Fasten off, leaving a long tail for sewing. Repeat for the second wing. [2 wings]
Assembly & Finishing Touches
Position the two white wings near the top of the bee’s body, just below the head, and securely sew them in place using your yarn needle.
Embroider tiny sleepy eyes and a smile using leftover black yarn, and add optional pink French knots for cheeks if desired.
Weave in all remaining yarn tails securely and block your finished bookmark lightly to ensure it stays flat and crisp between your book pages.
Pro Tips for Flawless Results
- Use a slightly smaller hook size than recommended on your yarn label to keep your stitches firm and prevent curling.
- Maintain consistent tension across all color changes to keep the edges of your bee body straight and neat.
- Cotton yarn is your best friend here; it provides crisp stitch definition and durability for everyday reading use.
Frequently Asked Questions
Is the Crochet Bee Bookmark Pattern suitable for beginners?
Yes, absolutely! It relies primarily on basic chain stitches, single crochets, and slip stitches, making it a wonderful confidence-boosting project for new makers.
What type of yarn is best for a crochet bookmark?
Lightweight cotton yarn is strongly recommended because it is durable, holds its shape well, and keeps your bookmarks from stretching out inside books.
How do I prevent my crochet bookmark from curling?
Using a smaller hook size, keeping an even tension, and lightly blocking your finished piece will easily solve any curling issues.
Watch the Full Step-by-Step Video Tutorial
Prefer visual guidance? Follow along with the complete video tutorial below at your own pace: