
Overview & Design Inspiration
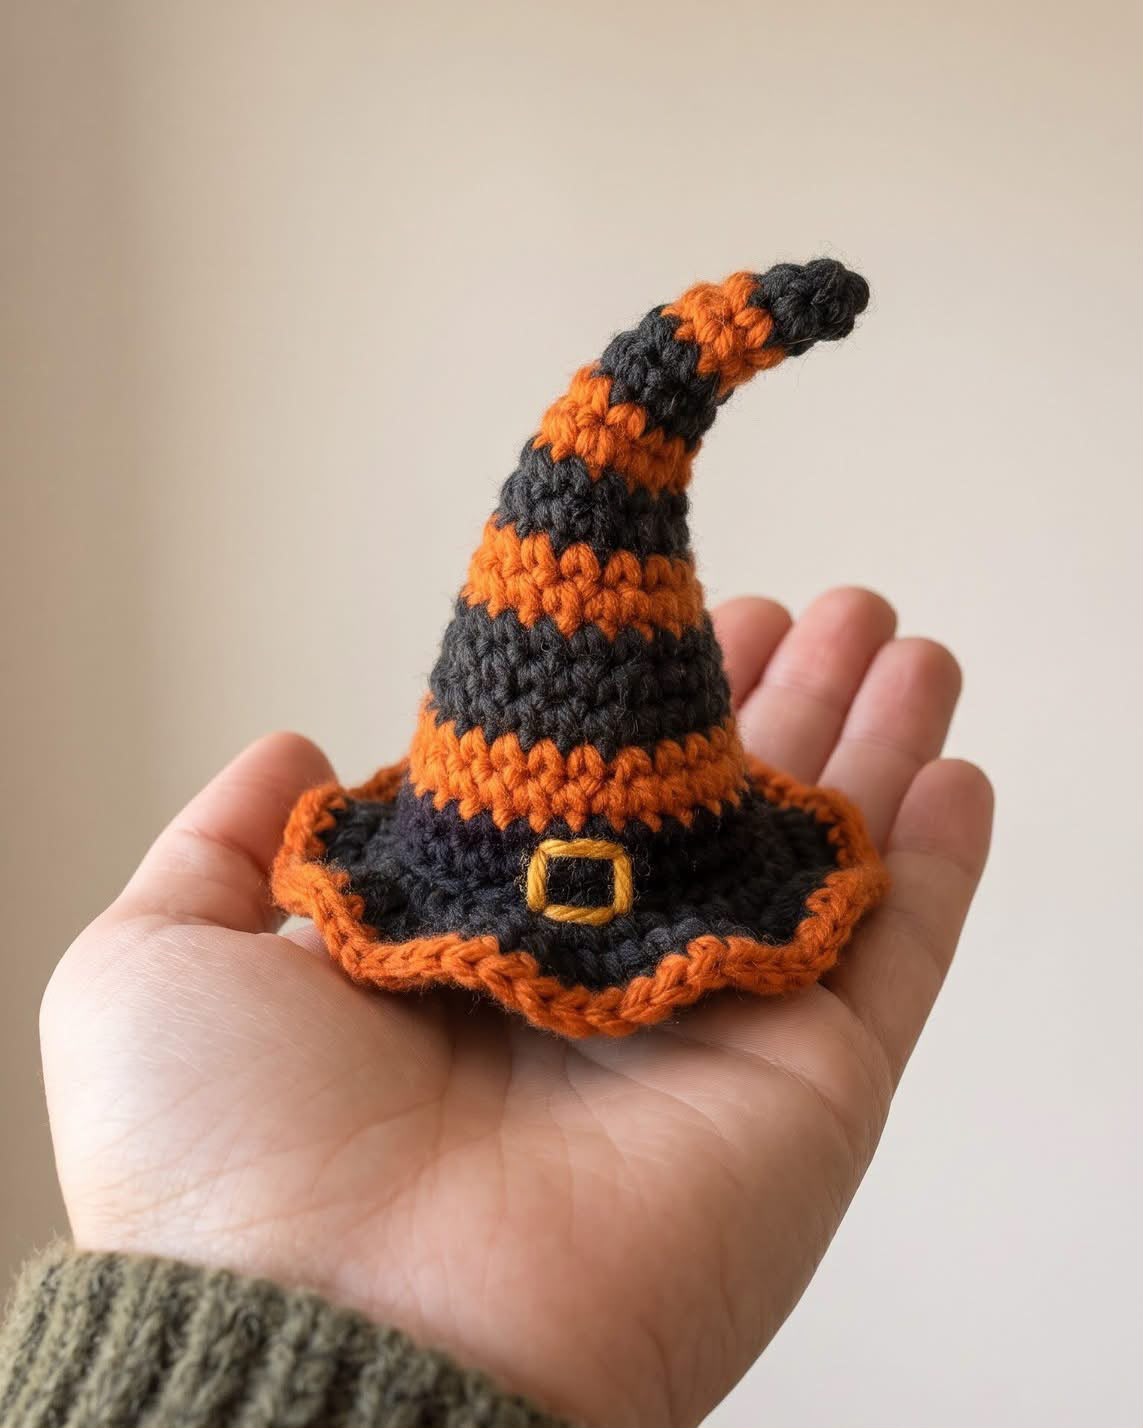
There is something magical about bringing small seasonal treasures to life with just a hook and a bit of yarn. This miniature crochet witch hat pattern captures all the whimsical charm of Halloween with its playful pointed crown, gently curved tip, and classic orange and black stripes.
Designed to be both quick and enchanting, this project is a fabulous way to add a cozy handmade touch to your spooky season decor. Whether you place it on a tiered tray, turn it into a festive garland, or top a tiny amigurumi friend, this adorable accessory is bound to spark your creative magic.
Materials & Recommended Supplies
- Yarn: Medium-weight (Worsted or DK) yarn in Black or Charcoal (main color), Pumpkin Orange (stripe color), and a small scrap of Golden Yellow (for the buckle).
- Crochet Hook: 3.0 mm or 3.5 mm (US C-2 or E-4), keeping your stitches nice and tight.
- Yarn Needle: For weaving in ends and embroidering the decorative buckle.
- Stitch Marker: Essential for tracking continuous spiral rounds.
- Scissors: For trimming yarn tails cleanly.
- Optional Additions: A pinch of polyester fiberfill for light shaping, or flexible craft wire if you want a poseable tip.
Essential Techniques & Stitch Highlights
This project relies on foundational amigurumi techniques worked in continuous spiral rounds, making it super satisfying to stitch up. Starting with a classic magic ring allows you to form a tight, neat apex without any gaps at the very top of the hat.
To create the crisp line between the tall cone and the wide brim, you will work into the back loops only (BLO) for a single transitional round. This subtle structural detail gives the fabric a built-in ridge, allowing the brim to flare out perfectly flat.
Clean color changes are the real star of the show when working those vibrant orange and black stripes. By completing the final yarn-over of a round with your new color, you achieve seamless color shifts that elevate the overall polished look of your finished piece.
Construction & Assembly Highlights
Your witch hat begins at the tip with just a few single crochet stitches, gradually expanding through gentle, deliberate increase rounds. This slow outward taper forms a slender cone that naturally invites a cute, whimsical bend near the top.
As you work your way down the crown, you will alternate between black and orange yarn to build out the festive horizontal stripes. The continuous spiral keeps the stitching fluid and fun, building noticeable height in just a short crafting session.
Once the crown reaches its full length, a sudden outward increase round transforms the shape from a tall cone into a bold, flared brim. To wrap up your project, a quick embroidered yellow box at the base of the crown creates a sweet faux belt buckle for that classic witchy finish.
Customization & Styling Ideas
Feel free to experiment beyond the traditional orange and black color palette! Try moody gothic purples, emerald greens, or even soft pastel shades for a modern, fairy-tale vibe that fits your personal aesthetic.
These mini hats make incredibly versatile seasonal decorations throughout your home. String several together on a twine strand for a witchy fireplace bunting, pop one onto a wine bottle for a festive party gift, or attach a keychain ring for on-the-go flair.
If you love adding extra sparkle, consider embroidering tiny metallic gold stars across the black stripes. You could also wrap a thin satin ribbon around the base or add a tiny drop-down spider charm for a dash of spooky drama.
Pro Tips for Flawless Results
- Opt for a Smaller Hook: Amigurumi demands dense fabric to keep its shape, so choose a hook size down from what your yarn label suggests.
- Maintain Uniform Tension: Consistent pull on your yarn prevents gaps in the cone, ensuring the hat stands tall without flopping over unexpectedly.
- Shape While You Stitch: Gently roll and curve the narrow tip between your fingers while working to set a permanent, playful bend into the fabric.
- Neaten Your Stripes: Use a jogless color change method on the final stitch of each color round to keep the stripe transitions looking clean and even.
Frequently Asked Questions
Can I use different yarn weights for this pattern?
Yes! Using fine fingering yarn with a tiny hook will yield a mini doll accessory, while thick velvet yarn and a larger hook will create a plush, giant centerpiece hat.
Do I need to stuff the crown with fiberfill?
Light stuffing helps the cone retain its volume, but if your stitches are firm enough, the hat will naturally hold its shape without any fiberfill inside.
How do I keep the brim from curling upward?
Curling usually happens if tension is too tight during the brim increases. If it curls, try relaxed tension on the final round or gently steam-block the brim flat using an iron held lightly above the fabric.
Watch the Full Step-by-Step Video Tutorial
Prefer visual guidance? Follow along with the complete video tutorial below at your own pace: