
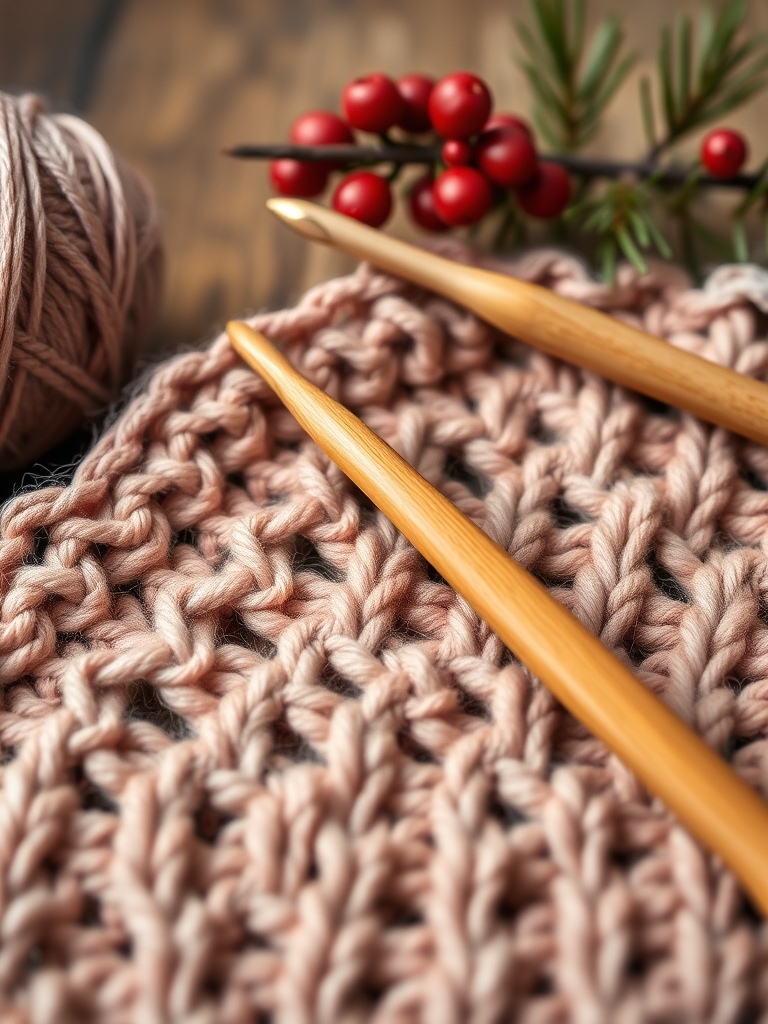
Introduction & Holiday Inspiration
When the first snowflakes start to fall, I love adding a handmade touch to my mantel. This 3‑D standing Christmas tree brings a pop of forest‑green glamour and a dash of sparkle to any holiday setting.
Inspired by Gul’s Cozy Crochet, the pattern uses textured bobble stitches for a fluffy foliage effect and tiny bead ornaments that look like real baubles. The finished tree stands proudly on its own, making it perfect for tables, shelves, or as a centerpiece.
Materials & Yarn Recommendations
- Yarn: 100% acrylic or wool worsted weight in “Rich Emerald Forest Green” (approx. 200 g). A medium‑weight yarn gives the bobbles a plush feel while staying manageable.
- Crochet hook: Size 4 mm (G/6) – works well with worsted weight and creates a tight enough stitch for the beads.
- Bobble stitch pattern: You’ll need a 3‑stitch bobble (often called “popcorn” in patterns).
- Beads: 6 mm white pearl beads (≈12) and 4 mm silver seed beads (≈20) for the ornaments.
- Silver ribbon bow: 1 mm wide, 15 cm long, pre‑tied or hand‑tied.
- Stitch markers, yarn needle, scissors, and a small piece of matching green yarn for weaving in ends.
Technique Breakdown & Step‑by‑Step Overview
Start with a magic ring and work in rounds, using single crochet (sc) as your base. The first round establishes the trunk: 6 sc, pull tight, and join with a slip stitch.
Round 2 expands the trunk with 12 sc, then begin the foliage by alternating 6 bobble stitches and 6 sc. Each bobble is made by working 5 dc into the same stitch, pulling the loop through, and closing with a final slip stitch.
From round 3 onward, increase the number of bobbles by 6 every two rounds to create a conical shape. Keep the side stitches as single crochet to define the tree’s silhouette.
When you reach the desired height (about 12 cm for a 10‑inch tree), start decreasing: work 2 bobble stitches together every other round. This tapers the top and gives the tree a natural point.
Before closing the very tip, thread a needle with a few green yarn tails and pull a small loop through the final bobble to create a sturdy “stem” for the bow. Secure and weave in the ends.
Now attach the beads: slide a pearl bead onto the yarn tail, pull it through the bobble’s center, and knot gently. Repeat for silver beads, spacing them evenly for a festive sparkle.
Finishing, Assembly & Holiday Styling Ideas
Once all beads are in place, tie the silver bow around the top stem and trim any excess yarn. Give the tree a gentle shake to fluff the bobbles – they’ll spring back into a lush, pine‑like texture.
Display the tree on a rustic wooden tray or a small pine‑scented box for extra charm. Pair it with a few pine sprigs, red berries, or a string of warm fairy lights for a cozy vignette that feels straight out of a holiday magazine.
Pro Crafter Tips
- Use a yarn with a slight sheen (metallic or bamboo blend) to catch the light and make the bobbles appear more “evergreen.”
- When working bobbles, keep your tension consistent; a tighter bobble yields a firmer tree, while a looser one creates a softer, cloud‑like effect.
- Secure beads with a dab of clear craft glue if you plan to move the tree often – it prevents the tiny ornaments from slipping out.
Frequently Asked Questions
Q: Can I use cotton yarn instead of acrylic?
A: Absolutely! Cotton gives a softer drape and a matte finish, but you may need to adjust the hook size up one step (to 4.5 mm) to maintain the bobble shape.
Q: How tall should the tree be for a tabletop display?
A: A height of 10‑12 inches (25‑30 cm) works well on most tables; it’s tall enough to be striking yet compact enough to fit beside candles or a small gift stack.
Watch the Full Step-by-Step Video Tutorial
Prefer visual guidance? Follow along with the complete video tutorial below at your own pace: