
Introduction & Holiday Inspiration
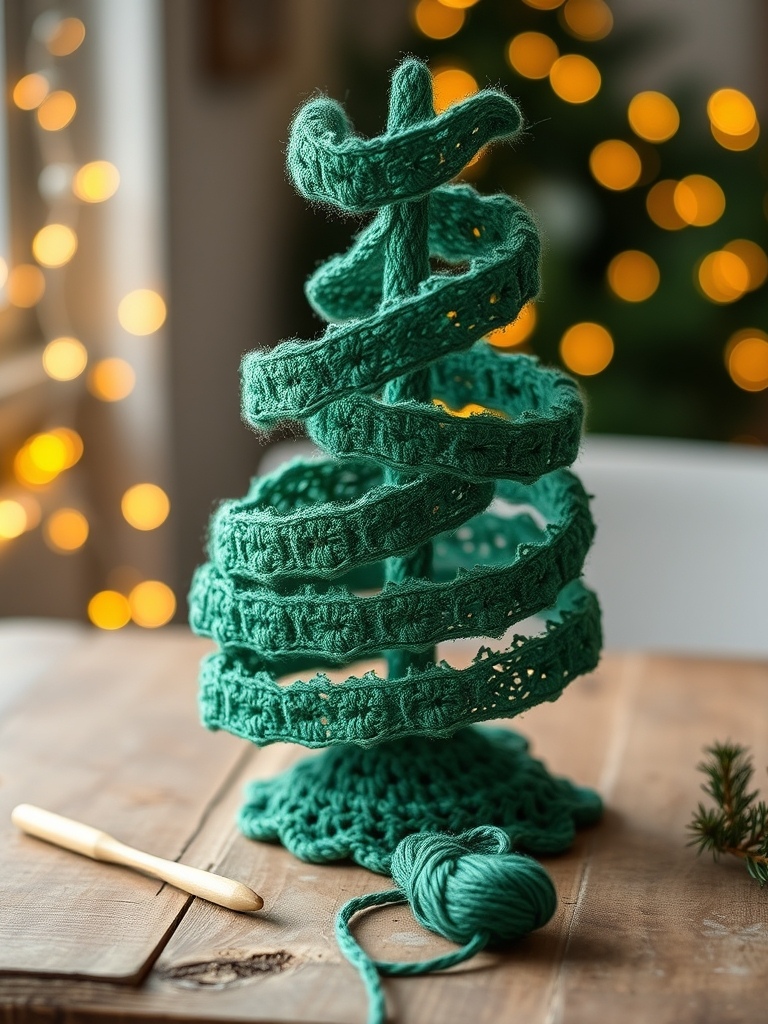
There’s something magical about a miniature tree that stands tall on your mantle, lights flickering and a garland that winds around it like a festive ribbon. This 3‑dimensional crochet Christmas tree from Knitting Love captures that cozy charm in a single stitch‑by‑stitch project.
Whether you’re a seasoned amigurumi maker or a beginner looking for a holiday‑season starter, the finished tree adds instant cheer and makes a perfect gift for friends, family, or even yourself.
Materials & Yarn Recommendations
- Yarn: 100 g (≈200 yd) of a worsted‑weight (4) emerald forest‑green yarn – the rich hue gives the tree depth and a classic holiday feel.
- Accent yarn: 50 g of DK (3) metallic gold or bright red yarn for the spiraling garland.
- Hook: Size G/6 mm (or the size recommended on your yarn label for a firm, sturdy stitch).
- Stitch markers, tapestry needle, and a pair of scissors.
- Optional: Small pom‑pom or bead for a tree‑top star.
Technique Breakdown & Step‑by‑Step Overview
1. Base & Trunk. Start with a magic ring, work 6 single crochets (sc) into it, and pull tight. Increase each round by 6 sc until the base measures about 2 inches in diameter. This creates a sturdy platform.
2. Shaping the Foliage. Switch to the shell stitch (5 dc in each sc) to build the first “layer” of branches. Work 2 rows of shells, then decrease 6 stitches evenly around the edge to give the tree a tapered silhouette. Continue alternating shell rows and decrease rounds until the tree stands roughly 8 inches tall.
3. Adding the Garland. With the gold/red yarn, chain 120 loosely. Slip‑stitch the chain onto the tree, spiraling upward in a gentle helix. Every 8‑10 stitches, pull the chain tight to create a subtle “twist” that mimics a real garland.
4. Finishing the Top. Close the final shell round, then weave in all ends. Attach a tiny pom‑pom or bead as a star, securing it with a few hidden stitches.
Finishing, Assembly & Holiday Styling Ideas
Once all ends are tucked, give the tree a gentle shake to loosen any tight stitches—this adds a natural, fluffy look. Place the tree on a decorative plate or nest it in a small wooden box for extra stability.
Style ideas: pair the tree with mini crochet ornaments, sprinkle a few faux pinecones at the base, or drape a tiny LED string light for a glowing centerpiece. It also looks lovely as a table‑top accent beside a cup of hot cocoa.
Pro Crafter Tips
- Use a stitch marker on the first shell of each round; it helps keep the decreasing stitches even and maintains the tree’s symmetry.
- If your yarn is very soft, block the finished tree lightly (steam for 5 seconds) to set the shape without flattening the shells.
- For a richer garland, alternate two colors (gold then red) every 12 stitches; this adds visual interest without extra complexity.
Frequently Asked Questions
Q: Can I use a lighter weight yarn for a smaller tree?
A: Absolutely! A DK (3) yarn with a 4 mm hook will produce a petite version that’s perfect for a wreath or a tiny gift box.
Q: How do I keep the garland from unraveling over time?
A: After stitching the garland, weave the tail of the accent yarn through the nearest chain loops and tie a tiny, hidden knot. This secures the spiral and prevents slippage.
Watch the Full Step-by-Step Video Tutorial
Prefer visual guidance? Follow along with the complete video tutorial below at your own pace: