
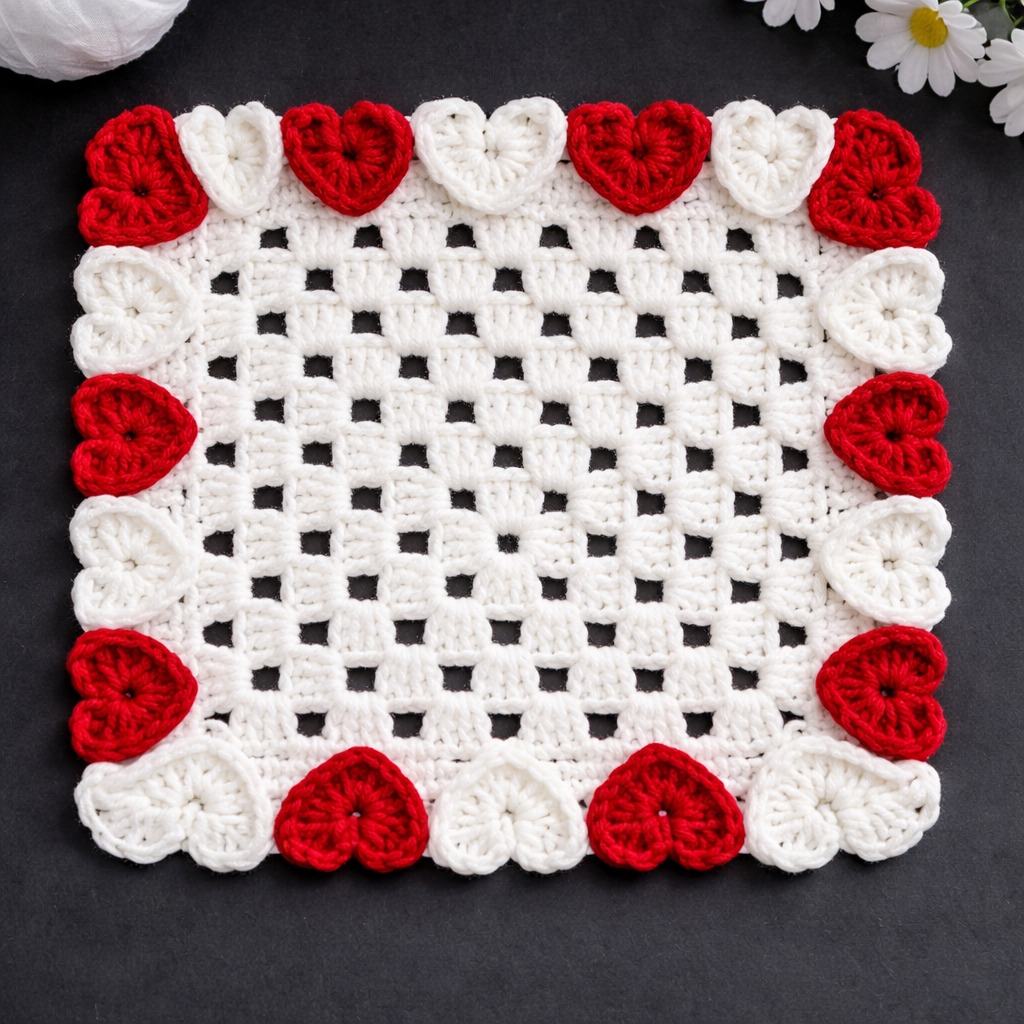
Overview & Inspiration
Welcome, fellow yarn lovers! If you are looking for a quick, charming project that delivers massive visual impact, learning how to crochet a Coaster Heart Pattern is the absolute best place to start. This delightful project combines everyday functionality with handmade sweetness, creating a practical piece that protects your tables while brightening your coffee table.
Whether you are crafting a thoughtful gift for Valentine’s Day, Mother’s Day, or simply adding a touch of romance to your home decor, this pattern works up in a flash. It is wonderfully beginner-friendly yet deeply satisfying for experienced crocheters looking for a quick, stash-busting win!
Materials & Supplies Needed
- Medium-weight cotton yarn (Worsted weight / CYC #4, recommended for heat resistance and moisture absorption)
- Choice of colors: neutral shades for modern elegance or bright reds and pinks for festive occasions
- 4.0 mm (US G-6) crochet hook
- Tapestry needle (for weaving in yarn tails)
- Stitch markers (optional, to keep track of rounds)
- Sharp scissors
- Blocking pins and mat (optional, for final shaping)
Stitches & Abbreviations
- ch: chain
- sl st: slip stitch
- sc: single crochet
- hdc: half double crochet
- dc: double crochet
- tr: treble crochet
- dc2tog: double crochet two together (decrease)
- st(s): stitch(es)
Step-by-Step Pattern Instructions
Begin by creating a magic ring to allow for a neatly tightened center. Alternatively, you can chain 4 and join with a slip stitch to form a loop.
Round 1
Chain 3 (counts as your first dc here and throughout), then work 11 dc into the center ring. Join with a slip stitch to the top of the beginning chain. [12 sts]
Round 2
Chain 3, then work 2 dc in each stitch around to help the coaster lay flat and form the upper curves of the heart. Join with a slip stitch to close the round. [24 sts]
Round 3
Chain 1, work a combination of sc and hdc across several stitches to begin tapering toward the bottom point. In the center stitches, work dc followed by a tr to elongate the shape slightly, then mirror your stitches to form the classic heart indentation at the top and pointed base at the bottom.
Round 4
Work a double crochet decrease (dc2tog), chain 1, and continue along the edge to define the final symmetry of your heart. Slip stitch to join and fasten off. [Stitch count varies by final border adjustment]
Assembly & Finishing Touches
Once you have fastened off your yarn, grab your tapestry needle and carefully weave in all remaining yarn tails along the back of the stitches to secure them invisibly.
For a crisp, professional finish, block your finished coaster. Lightly dampen the piece, pin it into a precise heart shape on a flat blocking mat, and allow it to dry completely.
Pro Tips for Flawless Results
- Maintain Consistent Tension: Try to keep your tension even so your coaster lies flat without curling or warping at the edges.
- Choose Cotton Fiber: Always use 100% cotton yarn because it absorbs moisture from cold drinks and withstands hot mugs far better than acrylic.
- Read the Full Pattern: Always review the entire set of instructions before grabbing your hook to fully understand how the shaping and increases work.
- Experiment with Edges: Add a delicate picot edge or a contrasting single crochet border to personalize your heart coaster.
Frequently Asked Questions
What type of yarn is best for a Coaster Heart Pattern?
Cotton yarn is highly recommended because it is durable, washable, absorbs condensation well, and withstands the heat of warm mugs much better than synthetic fibers.
Is the Coaster Heart Pattern suitable for beginners?
Yes, absolutely! As long as you are familiar with foundational stitches like single crochet, half double crochet, and double crochet, you can easily master this pattern.
How do I prevent my heart coaster from curling?
Make sure you use the recommended 4.0 mm hook size, maintain even stitch tension, and block your finished coaster by pinning it flat while damp to set its shape.
Watch the Full Step-by-Step Video Tutorial
Prefer visual guidance? Follow along with the complete video tutorial below at your own pace: