
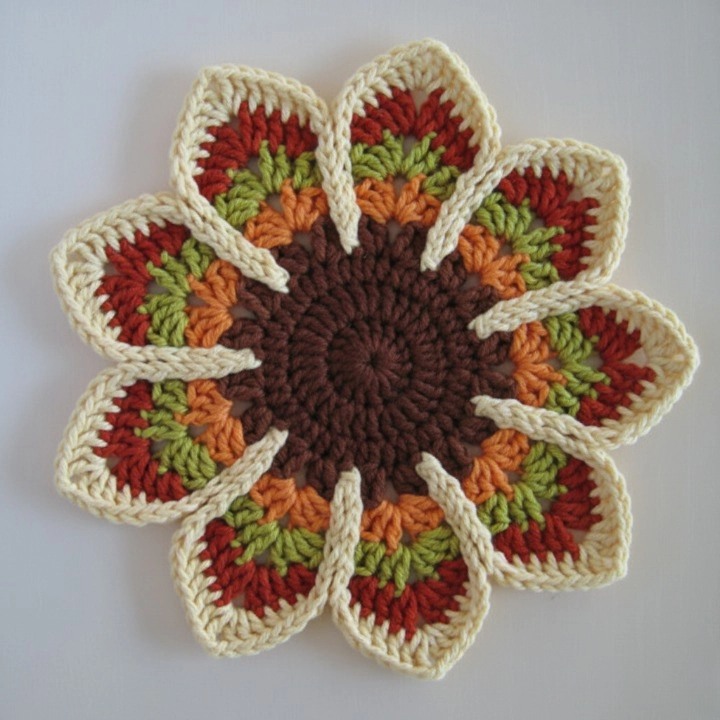
Overview & Inspiration
Welcome, fellow yarn enthusiasts! There is something truly magical about a project that effortlessly brings together creativity, practicality, and comfort in a single handmade piece. The Ripple Potholder is a timeless classic that invites crafters of all skill levels to slow down, settle into a cozy spot, and enjoy the soothing rhythm of the yarn.
Whether you are looking to brighten up your own kitchen, whip up a batch of quick craft fair inventory, or create a heartfelt, functional gift for a loved one, this pattern is an absolute joy. The iconic wave design creates built-in texture and extra thickness to protect your hands, making it as durable as it is beautiful.
Materials & Supplies Needed
- Worsted weight (Category 4) 100% cotton yarn in 2 or more contrasting colors (heat-resistant, durable, and easy to clean)
- Crochet hook size 4.5 mm (US 7) or 5.0 mm (US H/8), chosen to maintain a firm, insulating gauge
- Tapestry needle for weaving in yarn tails
- Stitch markers (optional, but helpful for tracking your ripple repeats)
- Scissors
Stitches & Abbreviations
- ch: Chain
- sc: Single crochet
- dc: Double crochet
- st(s): Stitch(es)
- rep: Repeat
- sk: Skip
- yo: Yarn over
- sc2tog: Single crochet 2 stitches together (decrease)
Step-by-Step Pattern Instructions
Before diving in, remember to maintain an even gauge so your ripples stay crisp and your potholder lies perfectly flat. Let’s get our hooks moving!
Foundation Row: Using your main color, ch a multiple of 14 plus 3 for the turning chain [e.g., ch 31 for a standard potholder width].
Row 1: Working into the 2nd ch from hook, sc in first st, [sk next st, sc in next 5 sts, 3 sc in next st, sc in next 5 sts, sk next 2 sts] across to last 2 sts, sk next st, sc in last st, turn. [31 sts]
Row 2: Ch 1, sc in first st, [sk next st, sc in next 5 sts, 3 sc in next st, sc in next 5 sts, sk next 2 sts] across to last 2 sts, sk next st, sc in last st, turn. [31 sts]
Rows 3 through 24: Repeat Row 2, changing colors every 2 rows if you prefer a vibrant striped wave effect, until your work measures roughly square. Fasten off, leaving a long tail for finishing.
Assembly & Finishing Touches
Once your main ripple panel is complete, fold or seam your piece according to your desired thickness, creating a double-layered barrier against hot cookware.
Take your tapestry needle and carefully weave in all remaining yarn tails along the textured ridges where they will stay completely hidden. Give your finished potholder a gentle steam block if needed to help the stunning wave pattern pop into place.
Pro Tips for Flawless Results
- Count Your Stitches: Always check your stitch count at the end of every row to ensure your peaks and valleys align perfectly.
- Choose 100% Cotton: Never use acrylic yarn for potholders, as cotton is heat-safe and will not melt against hot pots and pans.
- Keep Tension Snug: Working with a slightly firmer tension ensures tighter stitches, providing better insulation for handling hot cookware.
Frequently Asked Questions
What skill level is required for the Ripple Potholder?
The Ripple Potholder is wonderfully suited for confident beginners who are comfortable with basic stitches, as well as experienced crocheters looking for a relaxing, rhythmic project.
Can items made with this pattern be washed?
Yes! Because this pattern recommends durable 100% cotton yarn, your finished potholders can easily be machine washed and dried, making them delightfully practical for everyday kitchen use.
How long does it take to complete this project?
Most makers can easily finish a handmade ripple potholder in just a few hours, making it a fantastic weekend craft or a last-minute gift idea.