
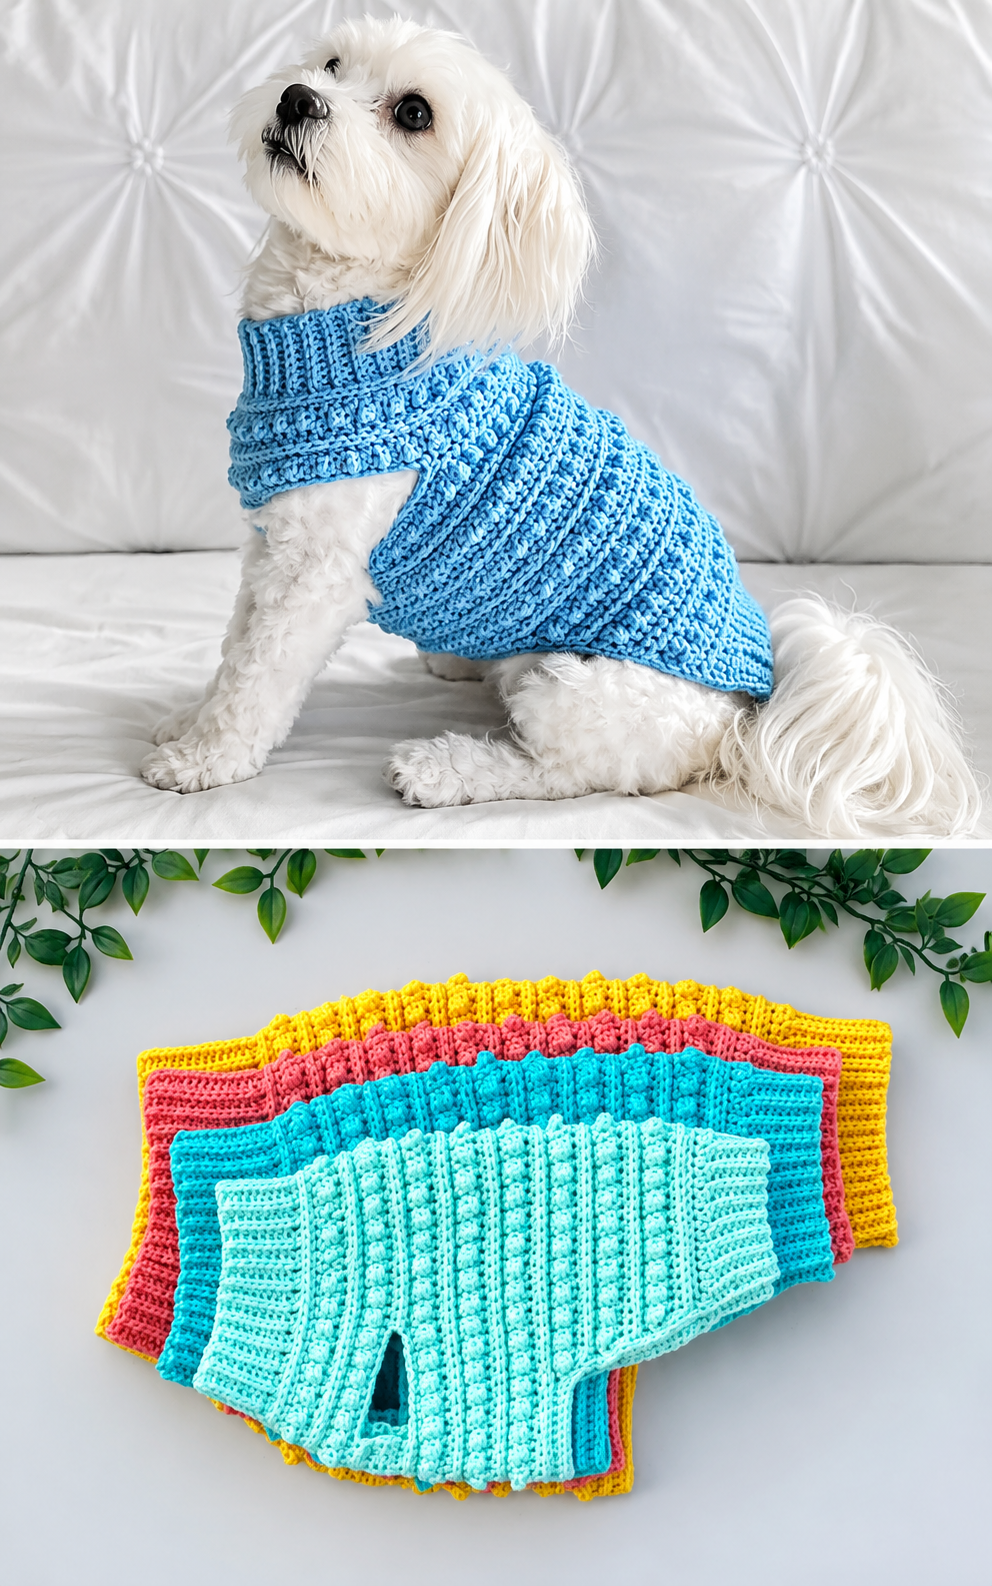
Overview & Design Inspiration
Welcome, fiber artists and animal lovers! There is truly nothing quite like the joy of creating a handmade garment for our four-legged family members, and this crochet dog sweater pattern is one of the most rewarding projects you can add to your handmade queue.
Whether you are crafting a cozy layer for a shivering tiny puppy or a stylish coat for a medium-sized canine companion, this project blends practicality with pure heart. It is an absolute delight to stitch, offering a wonderful way to practice your garment shaping while making something your pet can proudly wear on chilly morning walks.
Materials & Recommended Supplies
Having the right tools on hand makes the creative process smooth and enjoyable. Here is everything you need to gather before casting on your pup’s new wardrobe favorite:
- Yarn: Medium-weight (worsted weight) yarn is the gold standard for pet wear, providing plenty of warmth without bulk. Look for soft acrylic, cotton blends, or washable wool.
- Crochet Hook: A 5.0 mm (US H-8) crochet hook is typically ideal for worsted-weight yarn, but always match your hook to your yarn label’s recommendations.
- Notions: Stitch markers, sharp scissors, a yarn needle for weaving in ends, and a flexible measuring tape.
Essential Techniques & Stitch Highlights
This sweater utilizes a wonderful combination of classic crochet stitches that offer both structural integrity and cozy flexibility. You will work primarily with chain stitches, slip stitches, single crochets, half double crochets, and double crochets.
Working the collar in back loop only (BLO) single crochet creates a wonderfully stretchy, ribbed texture that easily slides over your dog’s head while staying comfortably snug. Meanwhile, transitioning into half double and double crochet stitches through the body gives the garment a gorgeous drape and freedom of movement.
Construction & Assembly Highlights
The construction journey begins at the neckline, working in the round from the collar downward to ensure a seamless, professional finish. After establishing a snug ribbed collar, you will gradually increase stitches to shape the chest comfortably.
Strategic stitch placement creates the necessary leg openings, allowing your dog to run, sit, and play without restriction. Finally, the body is worked continuously down to the desired back length and finished with a clean lower edge that helps the sweater keep its shape.
Customization & Styling Ideas
One of the best parts of this project is how easily you can make it your own! Play with vibrant variegated yarns for an effortless colorwork effect, or stick to timeless neutrals for a sophisticated look.
Feel free to experiment with decorative edges like a crab stitch border, or scale the pattern up and down for different breeds. Handmade dog sweaters also make extraordinarily thoughtful, heartwarming gifts for the pet lovers in your life.
Pro Tips for Flawless Results
Always measure first: Take accurate measurements of your dog’s neck, chest, and back length before starting to ensure a comfortable fit.
Don’t skip the gauge swatch: A quick swatch ensures your finished sweater matches your dog’s actual measurements and saves you from frogging later.
Secure your ends: Weave in all yarn tails securely through multiple stitches so enthusiastic play or washing won’t cause unraveling.
Prioritize easy care: Stick to machine-washable fibers so your pet’s sweater is effortless to keep clean and fresh.
Frequently Asked Questions
Is this crochet dog sweater pattern suitable for beginners?
Yes, absolutely! If you are comfortable with basic stitches like the chain, single crochet, half double crochet, and double crochet, you can easily complete this project.
Which yarn works best for dog sweaters?
Soft acrylic, cotton blends, and washable wool in a worsted weight are ideal because they provide warmth, durability, and easy maintenance.
Can I adjust this pattern for larger dog breeds?
Definitely! You can easily scale the sweater up by increasing your starting chain, adding extra chest increase rounds, and working additional body rows.
Watch the Full Step-by-Step Video Tutorial
Prefer visual guidance? Follow along with the complete video tutorial below at your own pace: