
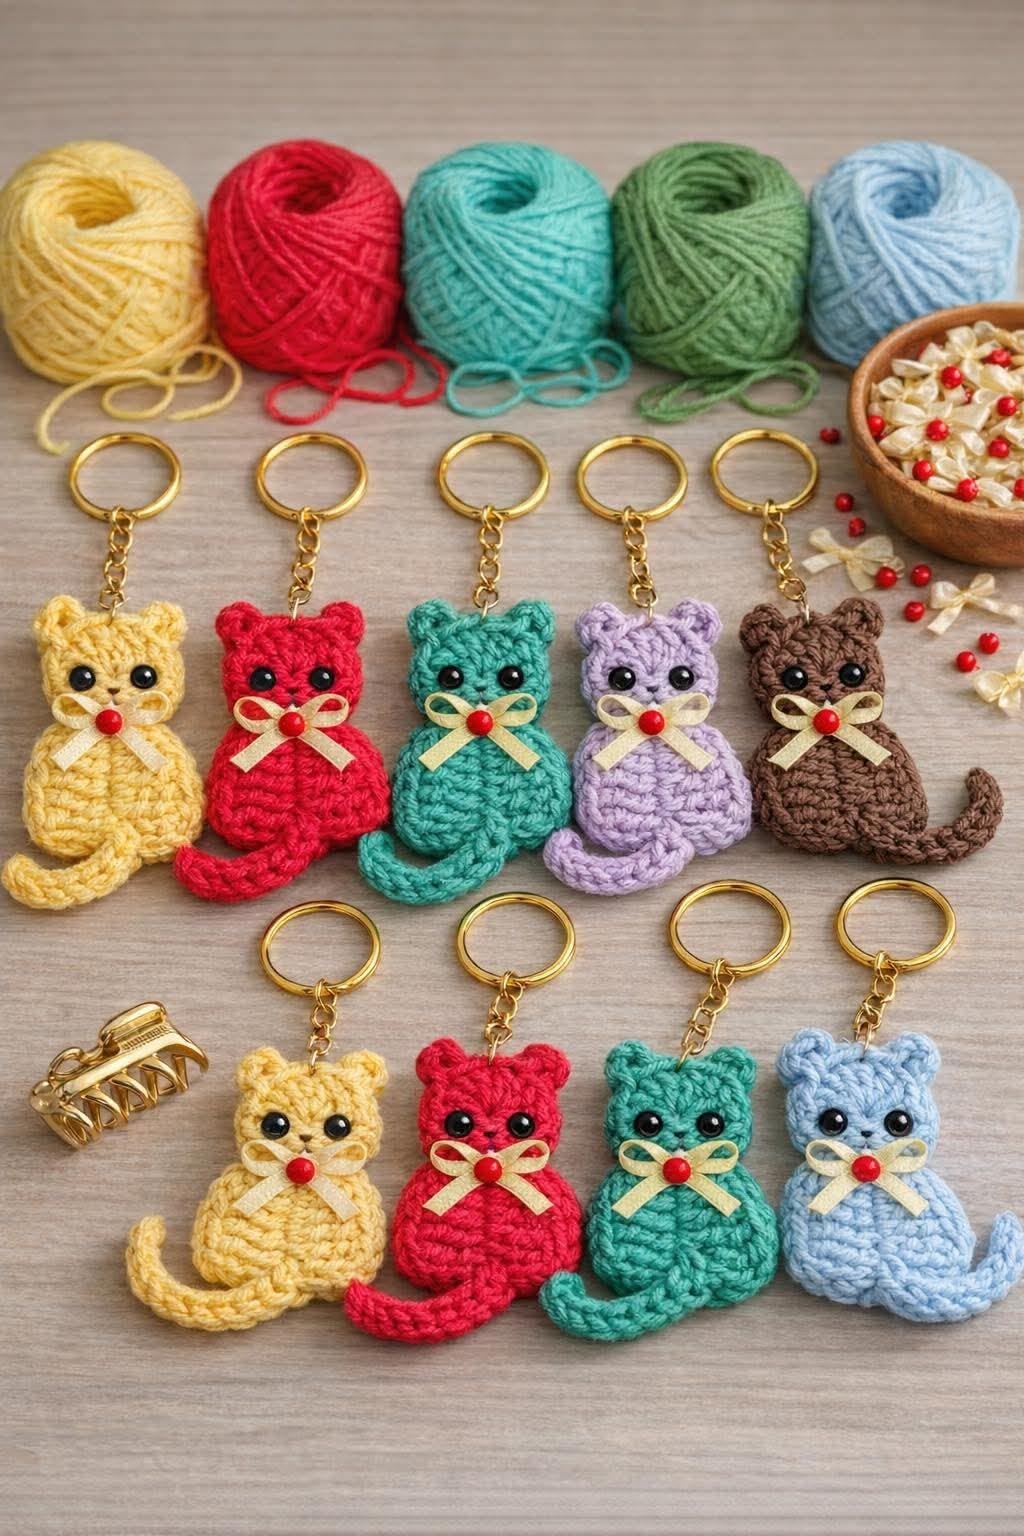
Overview & Inspiration
Welcome to your next favorite quick make! If you love combining creativity, practicality, and pure cuteness into a single handmade piece, you are going to adore this crochet kitten keychain pattern.
Whether you want to use up your yarn stash, craft heartfelt gifts, or stock up for your next craft fair, this delightful project offers endless charm and instant gratification. Let’s grab our hooks and bring a tiny, adorable kitty to life!
Materials & Supplies Needed
- Sport or DK weight cotton yarn (ideal for structure and durability) or acrylic yarn in your favorite kitten colors
- Crochet hook: 2.5 mm (US B/1) or 2.75 mm (US C/2) to ensure tight, gap-free stitches
- Polyester fiberfill stuffing (use sparingly)
- Pair of small safety eyes (or embroidery floss for a child-safe alternative)
- Embroidery thread for the nose, mouth, and whiskers
- Stitch markers to keep track of continuous rounds
- Tapestry needle for sewing and weaving in ends
- Small sharp scissors
- Sturdy metal keyring with a small chain attachment
Stitches & Abbreviations
- ch: Chain
- sl st: Slip stitch
- sc: Single crochet
- inc: Single crochet increase (work 2 sc in the same stitch)
- dec: Invisible single crochet decrease (sc next 2 stitches together using the front loops only)
- st(s): Stitch(es)
- Rnd(s): Round(s)
Step-by-Step Pattern Instructions
We will work the head, body, and ears in continuous rounds (spirals) without joining at the end of each round. Use a stitch marker to keep your place!
Head
Using your main kitten color, start with a magic ring.
- Rnd 1: 6 sc in magic ring [6 sts]
- Rnd 2: [inc] around [12 sts]
- Rnd 3: [sc 1, inc] around [18 sts]
- Rnd 4: [sc 2, inc] around [24 sts]
- Rnd 5 to Rnd 8: sc in each st around [24 sts]
- Rnd 9: [sc 2, dec] around [18 sts]
- Note: Insert safety eyes between Rnds 6 and 7, leaving about 4 stitches between them. Begin stuffing firmly, shaping the cheeks.
- Rnd 10: [sc 1, dec] around [12 sts]
- Rnd 11: [dec] around [6 sts]
- Fasten off, leaving a long tail to weave closed and secure.
Body
Using your main kitten color, start with a magic ring.
- Rnd 1: 6 sc in magic ring [6 sts]
- Rnd 2: [inc] around [12 sts]
- Rnd 3 to Rnd 5: sc in each st around [12 sts]
- Rnd 6: [dec] around [6 sts]
- Fasten off, leaving a tail for sewing to the base of the head. Lightly stuff.
Ears (Make 2)
Using your main kitten color, start with a magic ring.
- Rnd 1: 4 sc in magic ring [4 sts]
- Rnd 2: [sc 1, inc] around [6 sts]
- Rnd 3: [sc 2, inc] around [8 sts]
- Fasten off, leaving a tail for sewing. Do not stuff. Flatten the ears before attaching.
Assembly & Finishing Touches
Position the ears slightly forward on top of the head for a sweet, alert expression, and securely whipstitch them in place. Sew the small body directly below the head, ensuring the chibi-style proportions look balanced.
Use embroidery thread to stitch a tiny triangular nose, a friendly mouth, and delicate whiskers. Finally, double-knot your strong yarn securely through the top of the head, attaching it firmly to the metal keyring hardware so it can handle daily use.
Pro Tips for Flawless Results
- Maintain Tight Tension: Use a hook slightly smaller than recommended on your yarn label to keep stitches tight and prevent polyester fiberfill from peeking through.
- Embrace Invisible Decreases: Use invisible decreases (working through the front loops only) for a seamless, professional finish on your amigurumi shaping.
- Secure Your Hardware: Pass your attachment yarn through multiple secure stitches at the top of the head to guarantee your keychain stays sturdy and durable.
- Shape as You Go: Gently massage the fiberfill with your fingers during stuffing to achieve a perfectly rounded, adorable kitten face.
Frequently Asked Questions
What skill level is required for this crochet kitten keychain?
This project is wonderfully beginner-friendly! As long as you are comfortable with basic stitches like single crochet, increases, decreases, and working in a magic ring, you will breeze right through it.
How long does it take to make one kitten keychain?
Because it is a small amigurumi project, it typically takes only one to three hours to complete from start to finish, making it a fantastic weekend or evening craft.
Can I use plush or velvet yarn instead of cotton?
Yes, you can use plush or velvet yarn for an extra soft and fluffy texture! Just keep in mind that specialty fibers can make stitch visibility a bit trickier, so they are best suited for makers who already feel comfortable with basic amigurumi.
Watch the Full Step-by-Step Video Tutorial
Prefer visual guidance? Follow along with the complete video tutorial below at your own pace: