
Overview & Design Inspiration
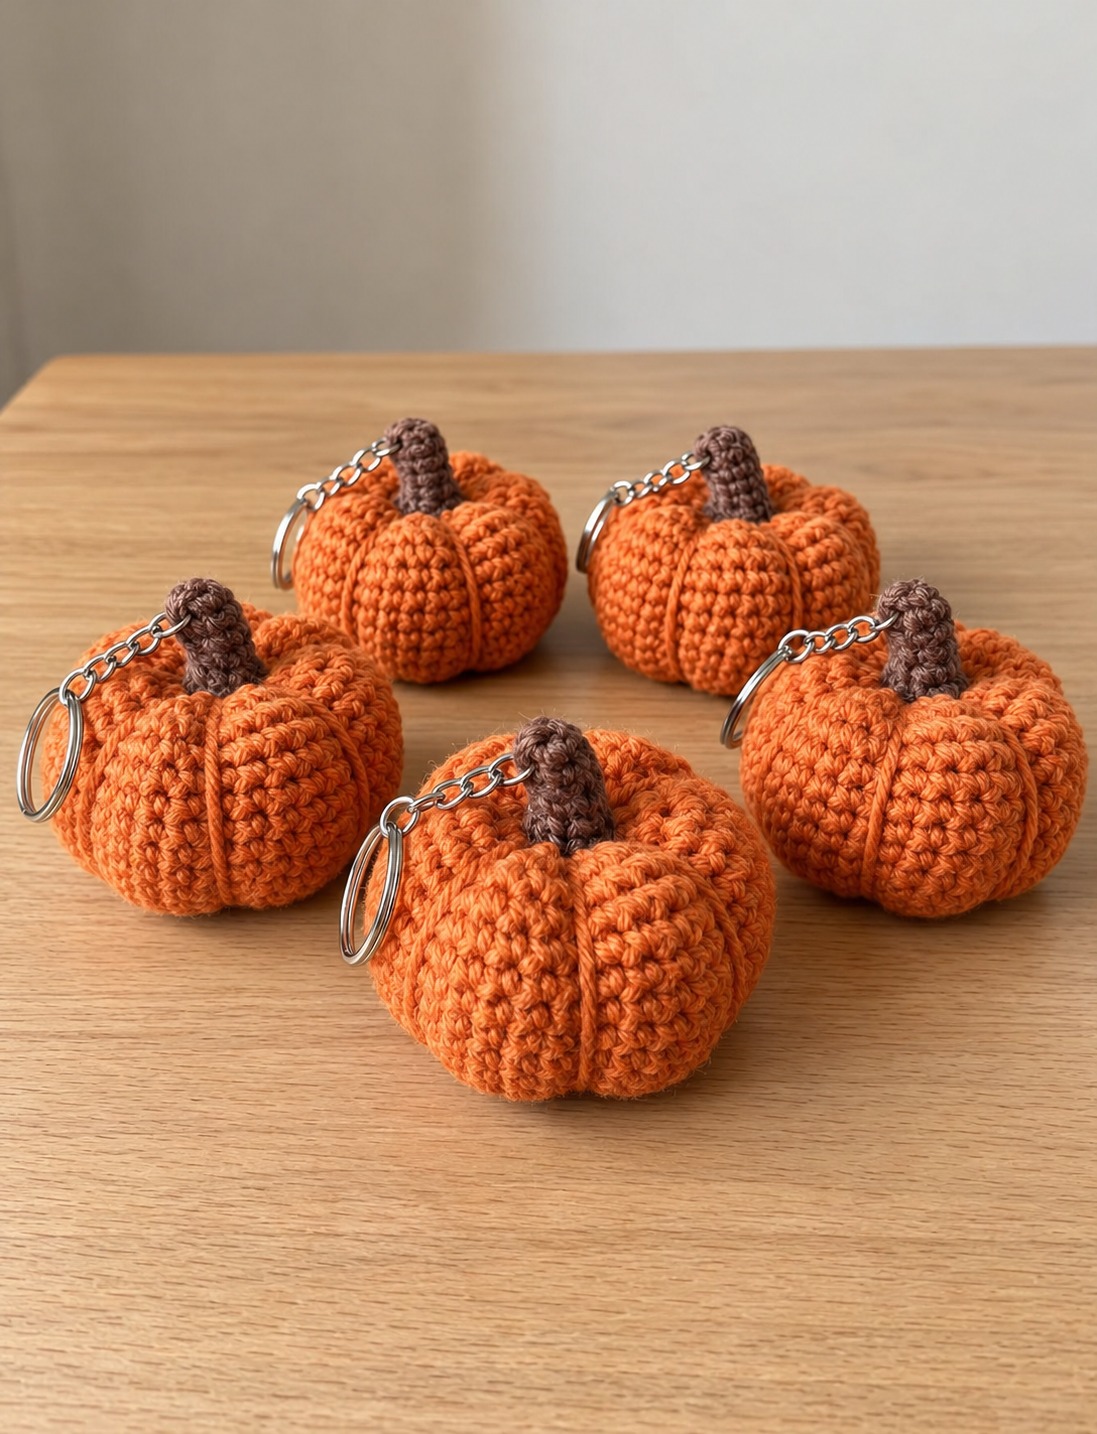
As the air turns crisp and leaves begin their golden dance, nothing feels cozier than stitching up a bit of autumn magic. This crochet pumpkin keychain amigurumi captures all the whimsical nostalgia of the harvest season in an adorable, palm-sized accessory you can take anywhere.
Makers everywhere fall in love with this pattern because it delivers instant gratification while transforming simple yarn scraps into a three-dimensional heirloom. Whether clipped to your favorite tote, adorning your keyring, or tucked into a seasonal gift basket, this little pumpkin brings warm handmade joy to everyday life.
Materials & Recommended Supplies
- Yarn: Sport or lightweight DK cotton or cotton-blend yarn in classic harvest orange and chocolate brown for the stem.
- Crochet Hook: 2.5 mm (US B-1 / C-2) or a hook size small enough to achieve a dense, tight fabric that keeps stuffing hidden.
- Stuffing: High-resilience polyester fiberfill to give your pumpkin a plush, squeezable shape.
- Notions: Locking stitch markers, a sharp tapestry needle with a large eye, and precision embroidery scissors.
- Hardware: Metal split keychain ring with a short jump ring or chain attachment.
Essential Techniques & Stitch Highlights
The beauty of this miniature pumpkin lies in its approachable elegance. Built almost entirely using standard single crochet stitches, the project serves as a fantastic playground for practicing classic amigurumi mechanics without feeling overwhelmed.
You will work in continuous spiral rounds, which eliminates the visible ridge of joined slip-stitch seams. Employing an adjustable magic ring at the beginning creates a tightly closed bottom, while seamless invisible decreases ensure the top tapers down without any noticeable bumps or holes.
The standout design feature is the tactile ridged texture. Rather than using complex post stitches, the signature pumpkin segments are sculpted after crocheting by wrapping and cinching long lengths of yarn tightly around the body to create plump, realistic lobes.
Construction & Assembly Highlights
Your mini pumpkin begins from the base upward, expanding gracefully through gentle increase rounds before transitioning into an even center cylinder. As the walls climb, the piece naturally cups inward, forming a smooth foundation that awaits shaping.
Before closing the top opening with invisible decreases, pack the piece with small pinches of fiberfill. You want the stuffing firm enough to maintain its roundness, yet pliable enough to yield when you indent the surface grooves.
Once the sphere is fastened off, thread a long yarn tail through the center and pull it over the outer walls, repeating the loop several times around the sphere. Pulling these wraps taut draws the center downward and carves out those darling heirloom ridges.
To finish, crochet a tiny cylindrical stem with your brown yarn and stitch it directly over the cinched top gather. Fasten your split-ring keychain hardware securely into the sturdy join of the stem, and your festive pumpkin is ready for action.
Customization & Styling Ideas
While classic vibrant orange is always a winner, do not hesitate to explore modern autumn palettes. Creamy alabaster, muted sage green, mustard yellow, and dusty blush create a stunning, farmhouse-chic assortment of miniature heirloom gourds.
Looking to elevate the design further? Add a tiny curled vine by chaining several stitches and working double increases down the length, or stitch two dark safety eyes and a tiny smile for a charming kawaii Halloween companion.
Beyond keychains, these tiny gourds make incredible seasonal accent pieces. Thread several along a jute twine for a rustic mantle garland, tie them onto fabric gift wraps, or use them as personalized place-card holders for your Thanksgiving table.
Pro Tips for Flawless Results
- Maintain a Snug Tension: Amigurumi demands a slightly firmer tension than garments. If you notice fiberfill peeking out between your stitches, size down your hook by a half-millimeter.
- Avoid Overstuffing: Pack the pumpkin moderately so it holds its shape, but leave enough softness so the wrapping yarn can cleanly compress the indentations without bursting the seams.
- Distribute Your Ridges Evenly: Use your stitch markers as clock-face guides to mark opposite sides before you cinch, ensuring your pumpkin segments are balanced and symmetrical.
- Reinforce the Hardware Attachment: Pass your anchoring thread through both the base of the stem and the top loops of the pumpkin several times to withstand daily bag wear and tear.
Frequently Asked Questions
What is the best yarn fiber to prevent pilling on everyday keychains?
Mercerized cotton or a durable cotton-acrylic blend is ideal because the fibers are tightly spun, resist friction, and will not fuzz up after rubbing against keys or bags.
How do I keep my pumpkin from looking like a plain round ball?
The secret is pulling the cinching yarn through the vertical center from top to bottom while tugging the wraps firmly. This flattens the top and bottom poles while bulging out the side segments.
Can a beginner with no amigurumi experience complete this project?
Absolutely! Because it relies on basic single crochet worked in a continuous circle, this project is one of the most forgiving and enjoyable gateways into three-dimensional crochet crafting.
Watch the Full Step-by-Step Video Tutorial
Prefer visual guidance? Follow along with the complete video tutorial below at your own pace: