
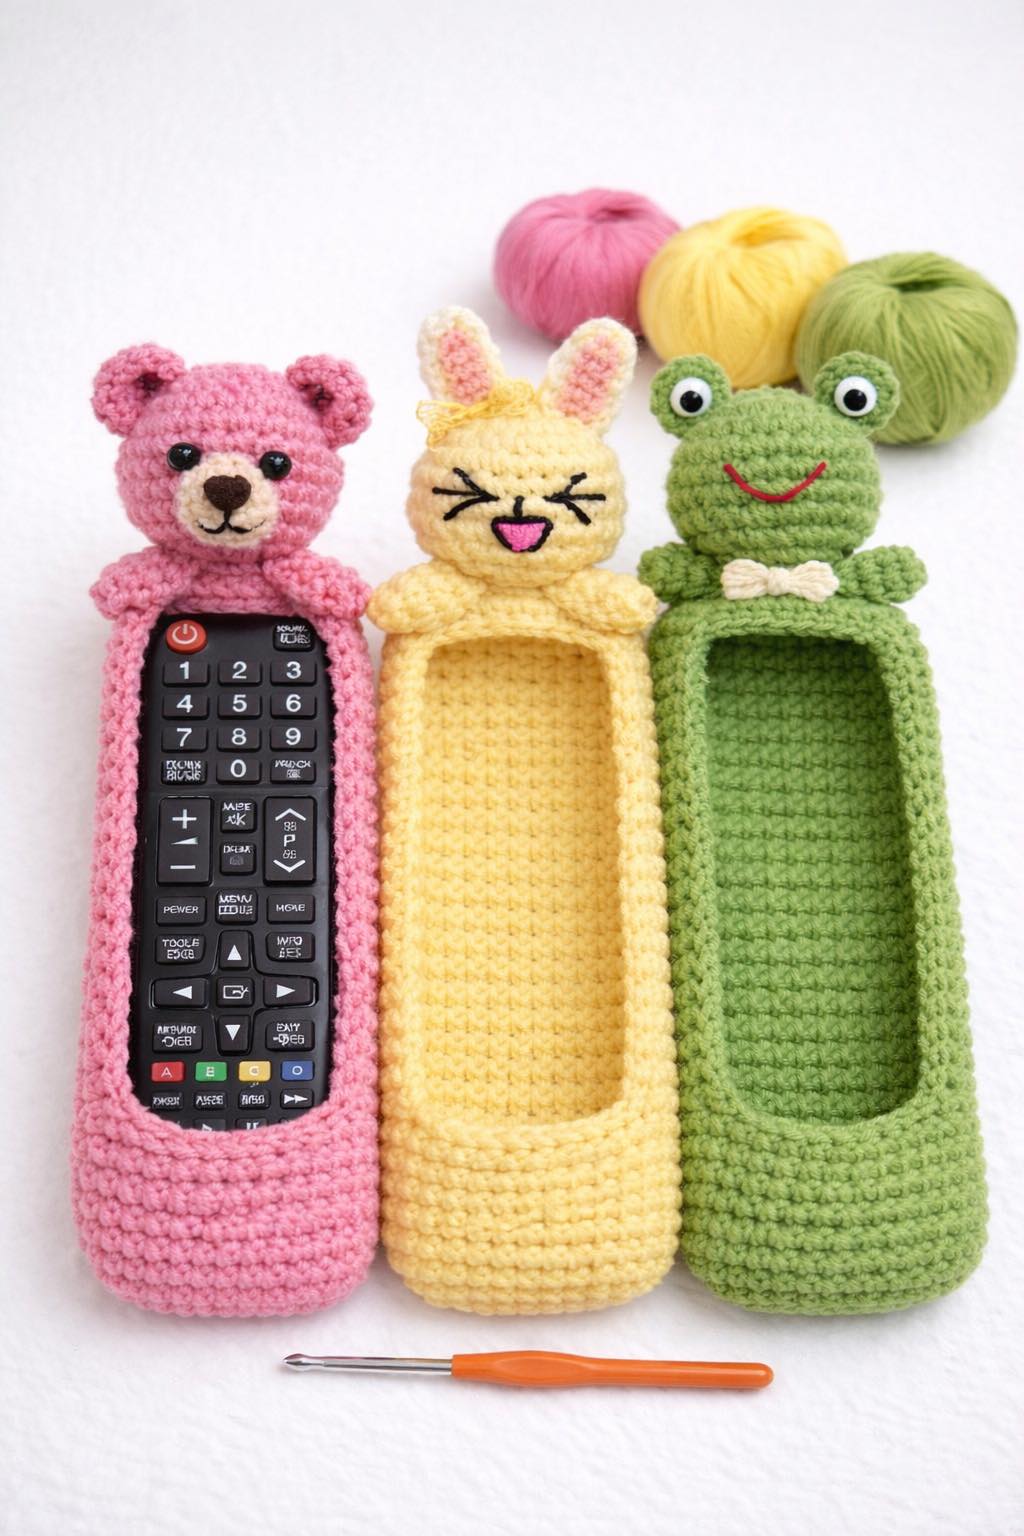
Overview & Inspiration
Welcome, fellow yarn enthusiasts! If you love combining quick handmade projects with everyday practicality, you are going to adore this crocheted remote control cover tutorial.
Remotes are constantly being dropped, getting scratched, or gathering dust on the coffee table. Whipping up a custom crochet cover gives your devices a cozy, protective layer while showing off your personal style!
Materials & Supplies Needed
- Yarn: Worsted weight yarn (cotton for durability and easy washing, or acrylic for softness and color variety).
- Yarn Weight: Worsted weight (approx. 4.0 mm to 5.0 mm recommended).
- Colors: Neutral tones like gray, beige, and white for modern interiors, or bright accent colors.
- Crochet Hook Size: 4.0 mm (US G/6) to 5.0 mm (US H/8) — go slightly smaller than recommended to achieve a dense, protective fabric.
- Tapestry needle (yarn needle) for weaving in ends and seaming.
- Stitch markers to keep track of your rounds and rows.
- Scissors for cutting yarn.
- Measuring tape to ensure a custom fit.
- Optional: Small buttons or snaps for optional flap closures.
Stitches & Abbreviations
- ch = Chain
- sc = Single crochet
- hdc = Half double crochet
- sl st = Slip stitch
- st(s) = Stitch(es)
- rep = Repeat
Step-by-Step Pattern Instructions
Measuring Your Device
Start by measuring the length and width of your remote control. Add approximately 1 to 1.5 cm for ease so the cover slides on comfortably without overly stretching the stitches.
Creating the Base Foundation
Create a foundation chain that matches the width of your remote control, taking care not to twist the chain. Work single crochet stitches across the chain to build a firm, protective texture [18 sts].
Working in Continuous Rounds
After completing your initial base chain, continue working in continuous rounds to eliminate visible seams and create a smooth cylindrical shape. Keep your tension tight and consistent [18 sts].
Checking Fit and Length
Continue crocheting in rounds until your piece reaches the exact length of your remote control. Frequently check the fit by placing the device against your work to ensure it is neither too short nor too long [18 sts].
Assembly & Finishing Touches
Once your body is complete, fasten off leaving a long yarn tail for assembly. Thread your tapestry needle and weave it through the bottom stitches, then pull tightly to close the opening securely.
Elevate your design by adding a decorative edge like a simple crab stitch, picot edging, or a clean round of slip stitches. Carefully weave in all remaining yarn tails to ensure your cover stands up to daily use.
Pro Tips for Flawless Results
- Go down a hook size from your yarn’s recommendation to create a dense fabric that keeps the remote securely tucked inside.
- Maintain even, consistent tension throughout your rows or rounds to prevent gaps and misshapen edges.
- Measure twice! Taking accurate length and width measurements before starting guarantees a snug, custom fit.
- Block your finished cover lightly if needed to smooth out stitches and give your project a polished, professional finish.
Frequently Asked Questions
What is the best stitch for crocheted remote control covers?
Single crochet is the most recommended stitch because it creates a tight, dense fabric that protects the remote effectively. However, half double crochet can also be used if you prefer slightly faster progress.
How do I make sure the cover fits perfectly?
Measure your remote control carefully in both length and width, adding 1 to 1.5 cm for ease, and hold your work up against the device frequently as you crochet.
Can I add a flap and button closure?
Yes! Simply stop crocheting about 2 to 3 cm before reaching the full length, work a few rows for a flap, add a small buttonhole ch-2 space, and sew a button onto the front of the cover.
Watch the Full Step-by-Step Video Tutorial
Prefer visual guidance? Follow along with the complete video tutorial below at your own pace: