
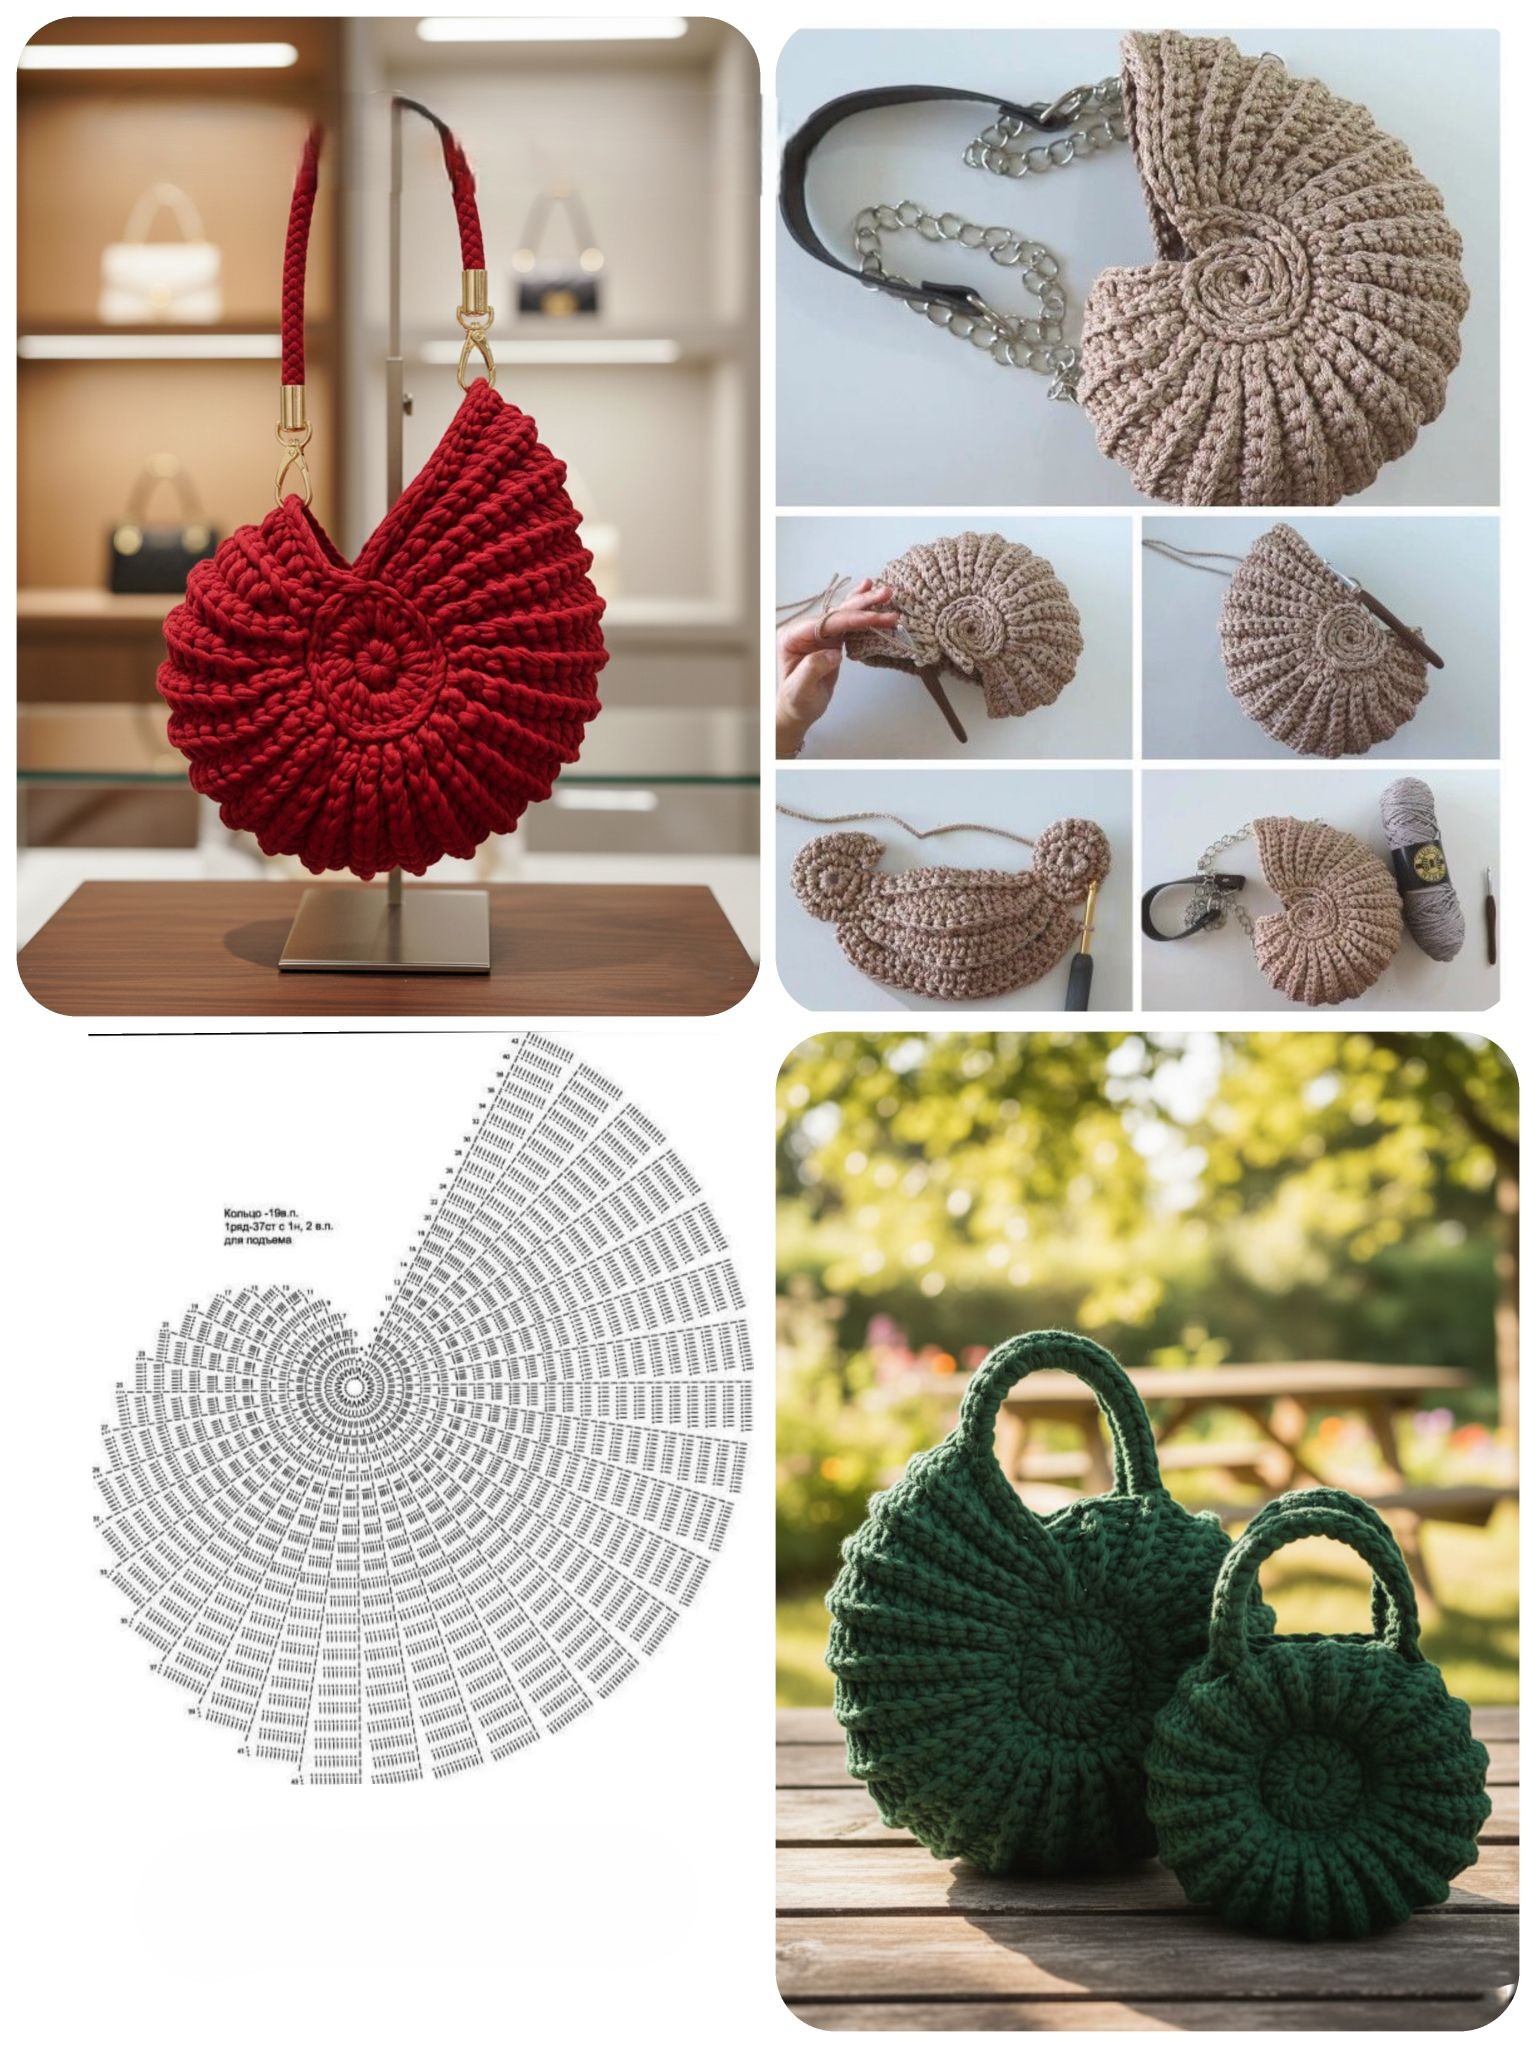
Overview & Inspiration
Welcome, fellow makers! There is nothing quite like the magic of combining texture, elegance, and everyday functionality into a single handmade accessory. The Shell Bag Crochet Pattern is a wonderful project that brings together classic design and modern utility.
The charm of the shell stitch creates a gorgeous fan-like texture that feels both romantic and practical. Whether you are crafting this for a weekend getaway, a market trip, or an evening out, this versatile design will quickly become a favorite in your handmade wardrobe.
Materials & Supplies Needed
- Yarn: Medium weight (Worsted / #4) cotton yarn for maximum structure and durability.
- Fibers: 100% cotton recommended to prevent sagging.
- Colors: Solid color or variegated yarn depending on your personal style preference.
- Hook size: 5.0 mm (US H/8) crochet hook.
- Tapestry needle for weaving in ends and sewing seams.
- Stitch markers to keep track of rounds and pattern alignment.
- Scissors for clean cutting.
- Optional: Magnetic snap, fabric for lining, or pre-made leather handles.
Stitches & Abbreviations
- ch = chain
- sl st = slip stitch
- sc = single crochet
- hdc = half double crochet
- dc = double crochet
- sk = skip
- st(s) = stitch(es)
- rep = repeat
- sp = space
Step-by-Step Pattern Instructions
Foundation: Begin by chaining your desired width for the base, ensuring your chain is not twisted. Let’s start with a foundation chain of 42 ch [42 sts].
Row 1: Work 1 sc in the 2nd ch from hook and in each ch across, turn [41 sts].
Row 2: Ch 1, work 1 sc in the first st, *sk 2 sts, work 5 dc in the next st (shell made), sk 2 sts, 1 sc in the next st; rep from * across, turn [7 shells].
Row 3: Ch 3 (counts as first dc here and throughout), work 2 dc in the same first sc, *1 sc in the center dc of the next shell, 5 dc in the next sc; rep from * across, ending with 3 dc in the final sc, turn [6 full shells, 2 half shells].
Rows 4-20: Repeat Rows 2 and 3 to build the height of your bag, ensuring your tension remains even and consistent [7 shells per full shell row].
Edging: Finish the top border by working 1 round of sc evenly around the entire opening [82 sts].
Assembly & Finishing Touches
Once you reach your desired height, fasten off your yarn, leaving a long tail if you are seaming any edges. Use your tapestry needle to securely weave in all loose yarn tails on the wrong side of the fabric.
If working in panels, seam the sides carefully using a whipstitch or mattress stitch. For an ultra-professional finish, hand-sew a fabric lining to the interior and attach your handles securely at reinforced points.
Pro Tips for Flawless Results
- Maintain consistent tension so that your shells align neatly and the bag structure stays balanced.
- Practice a small gauge swatch before starting to ensure your hook size matches your chosen yarn weight.
- Use stitch markers when working in the round to prevent accidental increases or decreases.
- Block your finished piece gently if using natural fibers to crisp up the fan-like texture of the shells.
Frequently Asked Questions
What skill level is required for the Shell Bag Crochet Pattern?
This pattern is beginner-friendly and uses repetitive, easy-to-memorize stitches that create an impressive, sophisticated texture with very little complexity.
Can I use acrylic yarn instead of cotton?
Yes, acrylic yarn works wonderfully if you want a lightweight, casual bag, though cotton offers slightly more structure and durability for everyday use.
How do I care for my handmade shell bag?
Gently hand-wash your finished bag in cool water with mild soap, then lay it flat to dry. Avoid harsh wringing to protect the delicate shell stitch texture.
Watch the Full Step-by-Step Video Tutorial
Prefer visual guidance? Follow along with the complete video tutorial below at your own pace: